

Installation
Installation of Grav is a trivial process. In fact, there is no real installation. You have several options for installing Grav. The first – and simplest – way is to download the zip archive, and extract it. The second way is to install with Composer. The third way is to clone the source project directly from GitHub, and then run an included script command to install needed dependencies. There are more ways that involve running bundled scripts.
Check for PHP version
Grav is incredibly easy to set up and get running. Grav 2.0 requires PHP 8.3.11 or higher. Check what you have by going to the terminal and typing php -v:
php -v
PHP 8.3.11 (cli) (built: Aug 29 2024 00:00:00) (NTS)
Copyright (c) The PHP Group
Zend Engine v4.3.11, Copyright (c) Zend Technologies
    with Zend OPcache v8.3.11, Copyright (c), by Zend Technologies
Grav also needs a handful of PHP extensions, and zip in particular is used by both Composer and GPM. See the requirements page for the full list before you go any further.
Option 1: Install from ZIP package
The easiest way to install Grav is to download the ZIP package and extract it:
- Download the latest-and-greatest Grav or Grav + Admin package. Grav + Admin is core with the API and Admin Next plugins already bundled, so it gives you a working admin panel with nothing else to install.
- Extract the ZIP file in the webroot of your web server, e.g.
~/webroot/grav
Note
There are Skeleton-packages available, which include the core Grav system, sample pages, plugins, and configuration. They are a great way to get started; all you have to do is download the Skeleton-package you prefer, and follow the steps above.
You can also download any pre-packaged installation of a tagged release from getgrav.org. Use the format https://getgrav.org/download/TYPE/PACKAGE/VERSION.
- getgrav.org/download/core/grav/2.0.22 downloads Grav Core v2.0.22
- getgrav.org/download/core/grav-admin/2.0.22 downloads Grav Core v2.0.22 with the API and Admin Next plugins bundled
- getgrav.org/download/core/grav-update/2.0.22 downloads the update package for Grav Core
- getgrav.org/download/plugins/admin2/latest downloads the latest Admin Next plugin
- getgrav.org/download/themes/quark/latest downloads the latest Quark theme
Tip
If you downloaded the ZIP file and then plan to move it to your webroot, please move the ENTIRE FOLDER because it contains several hidden files (such as .htaccess) that will not be selected by default. The omission of these hidden files can cause problems when running Grav.
Option 2: Install with composer
The alternative method is to install Grav with composer. Always pin the major version, so Composer fails loudly if your PHP environment cannot satisfy Grav 2.0:
composer create-project getgrav/grav ~/webroot/grav "^2.0"
Warning
If you leave the "^2.0" off and your PHP is missing an extension Grav needs, most commonly zip, Composer does not stop. It prints one easy-to-miss line saying it cannot use the latest version, then walks backwards until it finds a release your environment does satisfy, which can be a Grav from many years ago. The failure you eventually see will be an unrelated-looking complaint about an old dependency needing PHP 5.5. Pinning the constraint turns that into a hard error naming the extension. Install it (sudo apt install php8.3-zip, brew install php, or uncomment extension=zip.so in your php.ini) and run the command again.
If you want to check out the bleeding edge version of Grav, add 2.x-dev as an additional parameter:
composer create-project getgrav/grav ~/webroot/grav 2.x-dev
Composer installs Grav core only. See Install the Admin Panel below to add the admin UI.
Option 3: Install from GitHub
Another method is to clone Grav from the GitHub repository, and then run a simple dependency installation script:
-
Clone the Grav repository from GitHub to a folder in the webroot of your server, e.g.
~/webroot/grav. Launch a terminal or console and navigate to the webroot folder:BASHcd ~/webroot git clone -b master https://github.com/getgrav/grav.git -
Install vendor dependencies via composer:
BASHcd ~/webroot/grav composer install --no-dev -o -
Install the plugin and theme dependencies by using the Grav CLI application
bin/grav:BASHcd ~/webroot/grav bin/grav installThis will automatically clone the required dependencies from GitHub directly into this Grav installation.
Install the Admin Panel
If you installed the Grav + Admin ZIP package, the admin panel is already there and you can skip this section.
Otherwise, install Admin Next with a single GPM command from the root of your Grav install:
cd ~/webroot/grav
bin/gpm install admin2
Admin Next depends on the API plugin, which in turn depends on Login, Form, Email, and Shortcode Core. GPM resolves that whole chain for you and prompts once to install the dependencies, so bin/gpm install admin2 is all you need to type.
Warning
Do not run bin/gpm install admin. That is the classic Grav 1.x admin plugin and it does not work on Grav 2.0. The Grav 2.0 admin is the admin2 package.
Once it finishes, open your site in a browser and go to /admin. Admin Next serves at the same /admin route the classic admin used, and on a site with no user accounts yet it walks you through creating the first administrator.
https://my-site.example/admin
Further options
Install with Docker
Docker is an extremely efficient way to bootstrap platforms and services on both servers and local environments. If you are setting up several environments that need to be the same, or working collaboratively, it offers a simple way to ensure consistency between installations. If you are developing several Grav sites, you can streamline setting them up using Docker.
Stable Docker images are available that use Apache (the official image), Nginx, and Caddy webservers. If you search, you will find more that you can try. With any image, make sure you create volumes to persist Grav's user, backups, and logs folders. (Backups and logs are optional if you don't need to keep that data.)
Install on Cloudron
Cloudron is a complete solution for running apps on your server and keeping them up-to-date and secure. On your Cloudron you can install Grav with a few clicks. If you host multiple sites, you can install them completely isolated from one another on the same server.

The source code for the package can be found here.
Install through Linode Marketplace
If you use Linode servers, there is an easy, documented method using Linode Marketplace. This will set up a new Grav site on a new dedicated Linode virtual server. The virtual server will incur a periodic charge.
Webservers
Apache/IIS/Nginx
Using Grav with a web server such as Apache, IIS, or Nginx is as simple as extracting Grav into a folder under the webroot. All it requires to function is PHP 8.3.11 or higher, so you should make sure that your server instance meets that requirement. More information about Grav requirements can be found in the requirements chapter of this guide.
If your web root is, for example, ~/public_html then you could extract it into this folder and reach it via http://localhost. If you extracted it into ~/public_html/grav you would reach it via http://localhost/grav.
Note
Every web server must be configured. Grav ships with .htaccess by default, for Apache, and comes with some default server configuration files, for nginx, caddy server, iis, and lighttpd. Use them accordingly when needed.
Running Grav with the Built-in PHP Webserver
You can run Grav using a simple command from Terminal / Command Prompt using the built-in PHP server available as long as you have PHP installed.
All you need to do is navigate to the root of your Grav install using the Terminal or Command Prompt and enter bin/grav server.
Caution
While technically all you need is PHP installed, if you install the Symfony CLI application the server will provide an SSL certificate so you can use https:// and make use of PHP-FPM for better performance.
Entering this command will present you with output similar to the following:
➜ bin/grav server

Grav Web Server
===============

Tailing Web Server log file (/Users/joeblow/.symfony/log/96e710135f52930318e745e901e4010d0907cec3.log)
Tailing PHP-FPM log file (/Users/joeblow/.symfony/log/96e710135f52930318e745e901e4010d0907cec3/53fb8ec204547646acb3461995e4da5a54cc7575.log)
Tailing PHP-FPM log file (/Users/joeblow/.symfony/log/96e710135f52930318e745e901e4010d0907cec3/53fb8ec204547646acb3461995e4da5a54cc7575.log)

[OK] Web server listening
The Web server is using PHP FPM 8.0.8
https://127.0.0.1:8000

[Web Server ] Jul 30 14:54:53 |DEBUG  | PHP    Reloading PHP versions
[Web Server ] Jul 30 14:54:54 |DEBUG  | PHP    Using PHP version 8.0.8 (from default version in $PATH)
[PHP-FPM    ] Jul  6 14:40:17 |NOTICE | FPM    fpm is running, pid 64992
[PHP-FPM    ] Jul  6 14:40:17 |NOTICE | FPM    ready to handle connections
[PHP-FPM    ] Jul  6 14:40:17 |NOTICE | FPM    fpm is running, pid 64992
[PHP-FPM    ] Jul  6 14:40:17 |NOTICE | FPM    ready to handle connections
[Web Server ] Jul 30 14:54:54 |INFO   | PHP    listening path="/usr/local/Cellar/php/8.0.8_2/sbin/php-fpm" php="8.0.8" port=65140
[PHP-FPM    ] Jul 30 14:54:54 |NOTICE | FPM    fpm is running, pid 73709
[PHP-FPM    ] Jul 30 14:54:54 |NOTICE | FPM    ready to handle connections
[PHP-FPM    ] Jul 30 14:54:54 |NOTICE | FPM    fpm is running, pid 73709
[PHP-FPM    ] Jul 30 14:54:54 |NOTICE | FPM    ready to handle connections
Your terminal will also give you real-time updates of any activity on this ad hoc-style server. You can copy the URL provided in the [OK] Web server listening line and paste that into your browser of choice to access your site, including the administrator.
https://127.0.0.1:8000
Tip
This is a useful tool for quick development, and should not be used in place of a dedicated web server such as Apache or Nginx.
Successful Installation
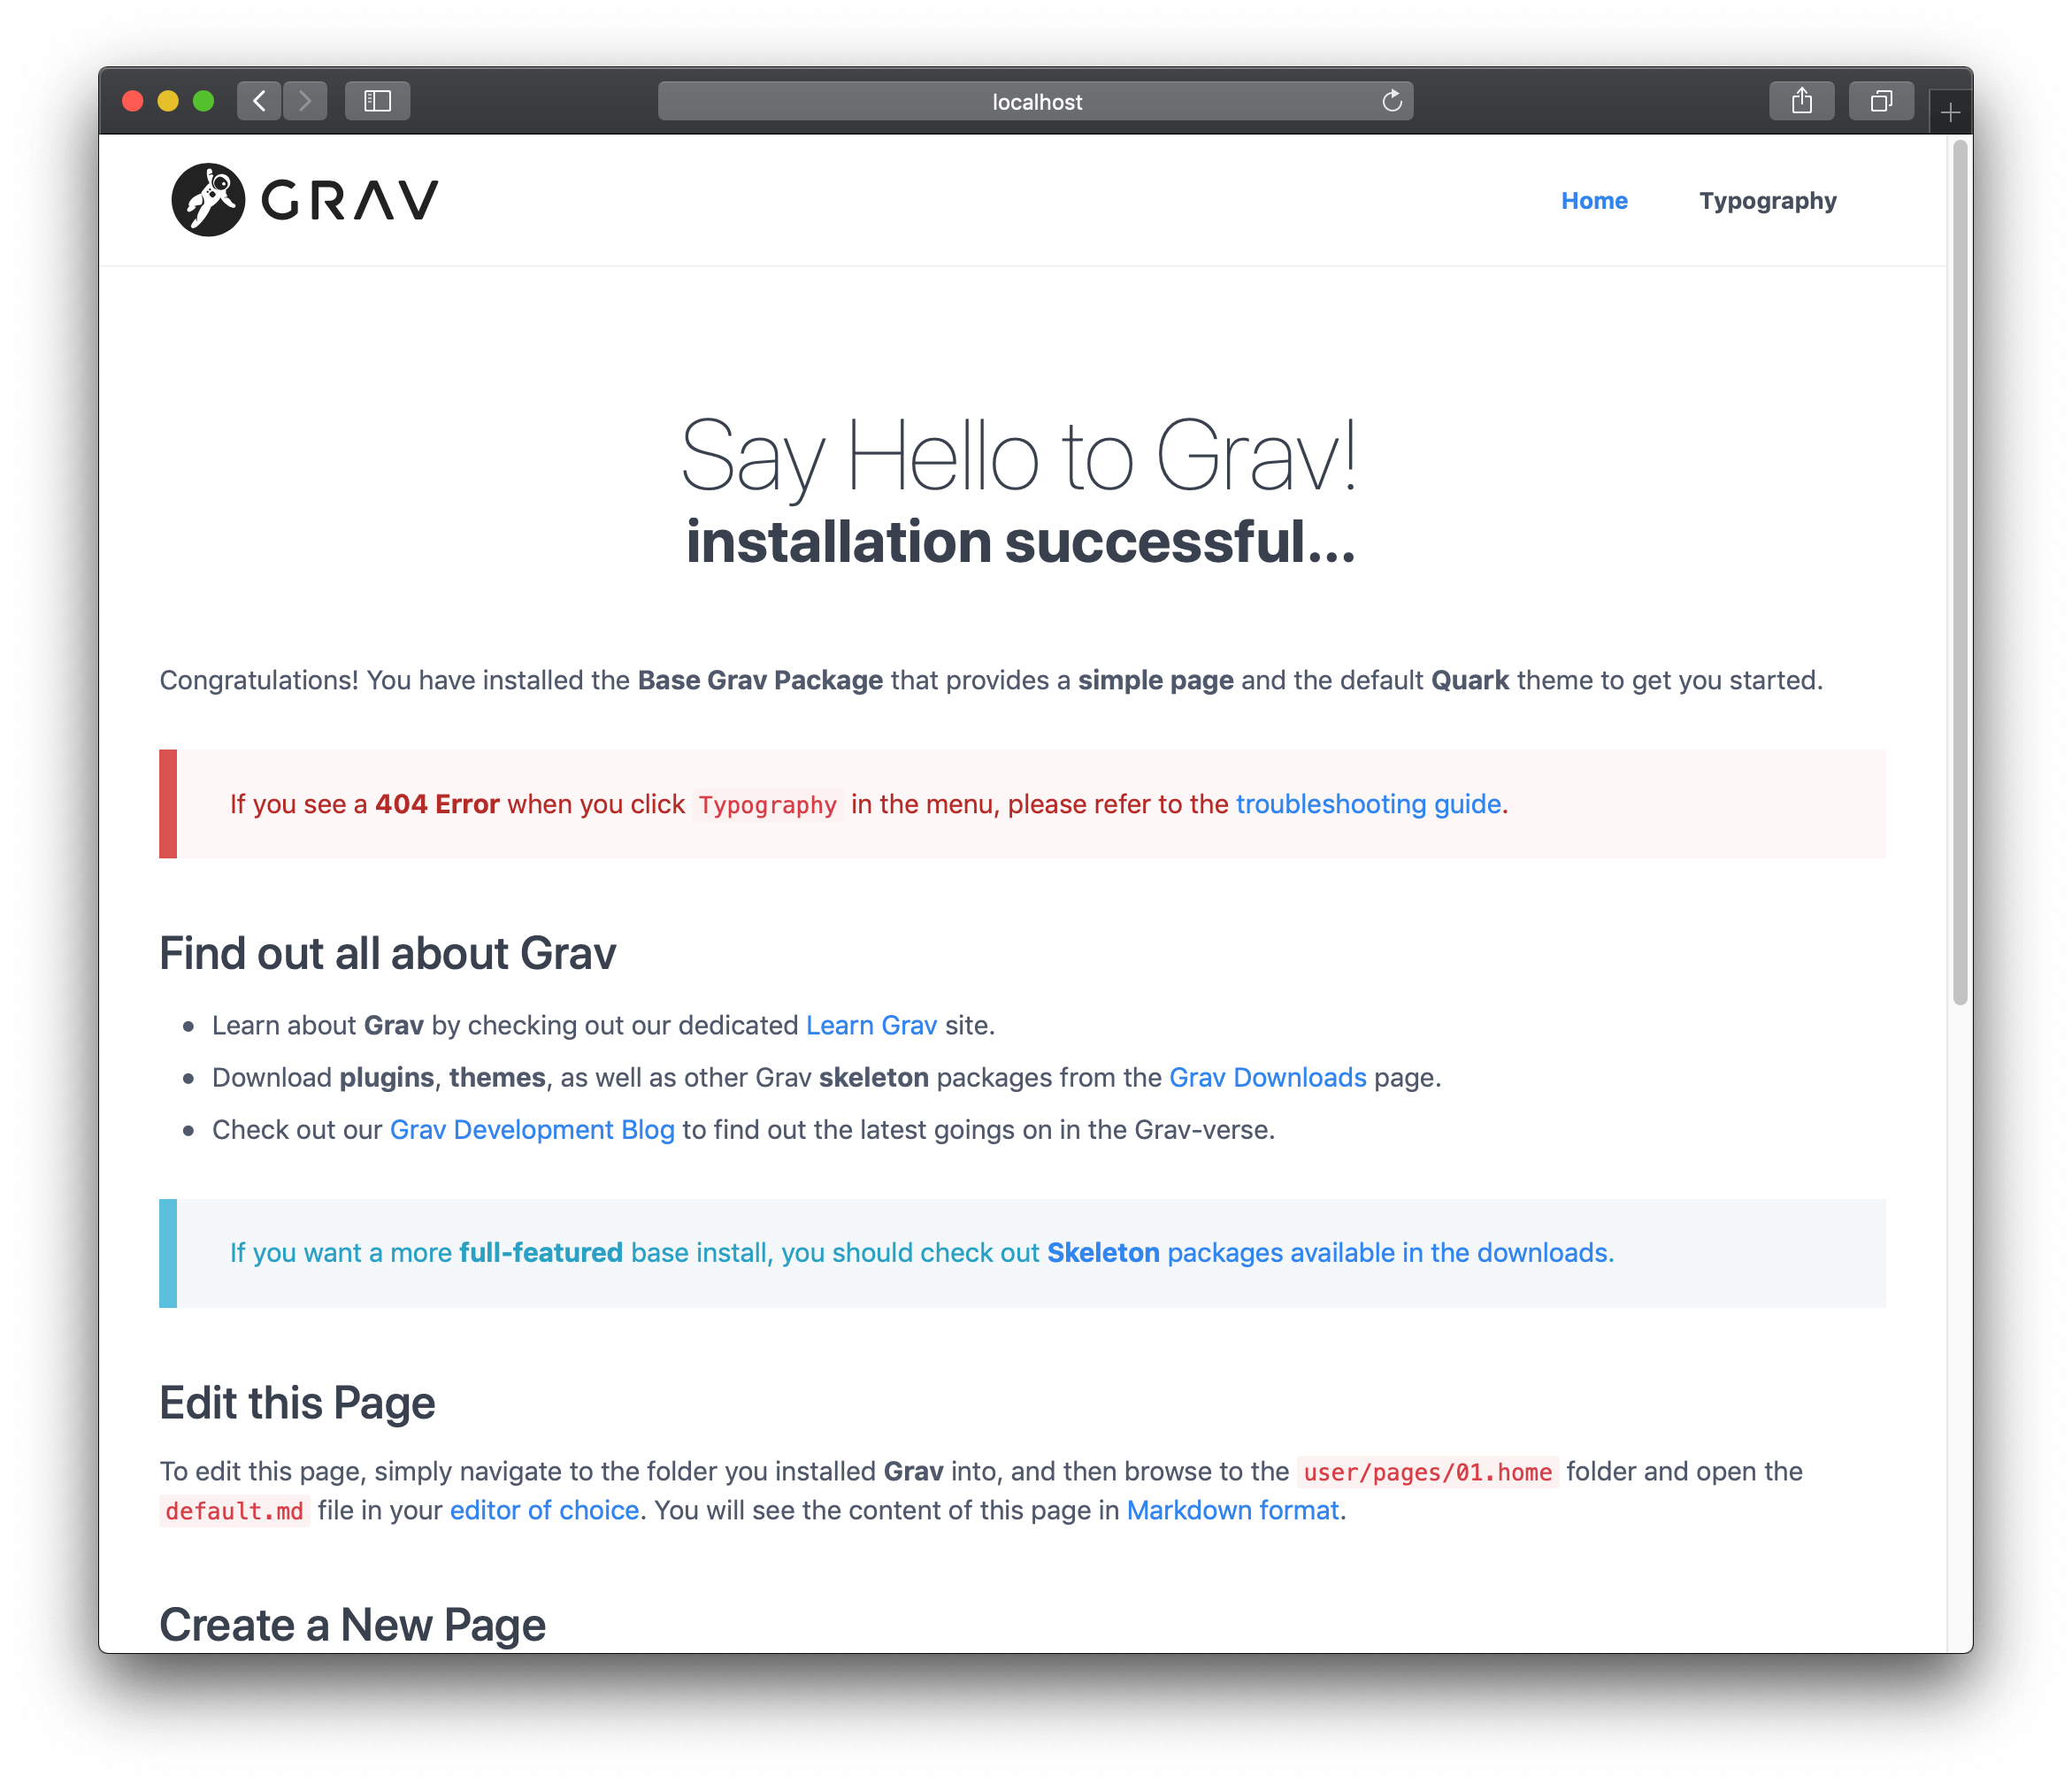
The first time it loads, Grav pre-compiles some files. If you now refresh your browser, you will get a faster, cached version.
Caution
In the previous examples, $ represents the command prompt. This may look different on various platforms.
By default, Grav comes with some sample pages to give you something to get started with. Your site is already fully functional and you can configure it, add content, extend it, or customize it as much as you like.
Installation & Setup Problems
If any issues are discovered during the initial page load (or after a cache-flush event) you may see an error page:
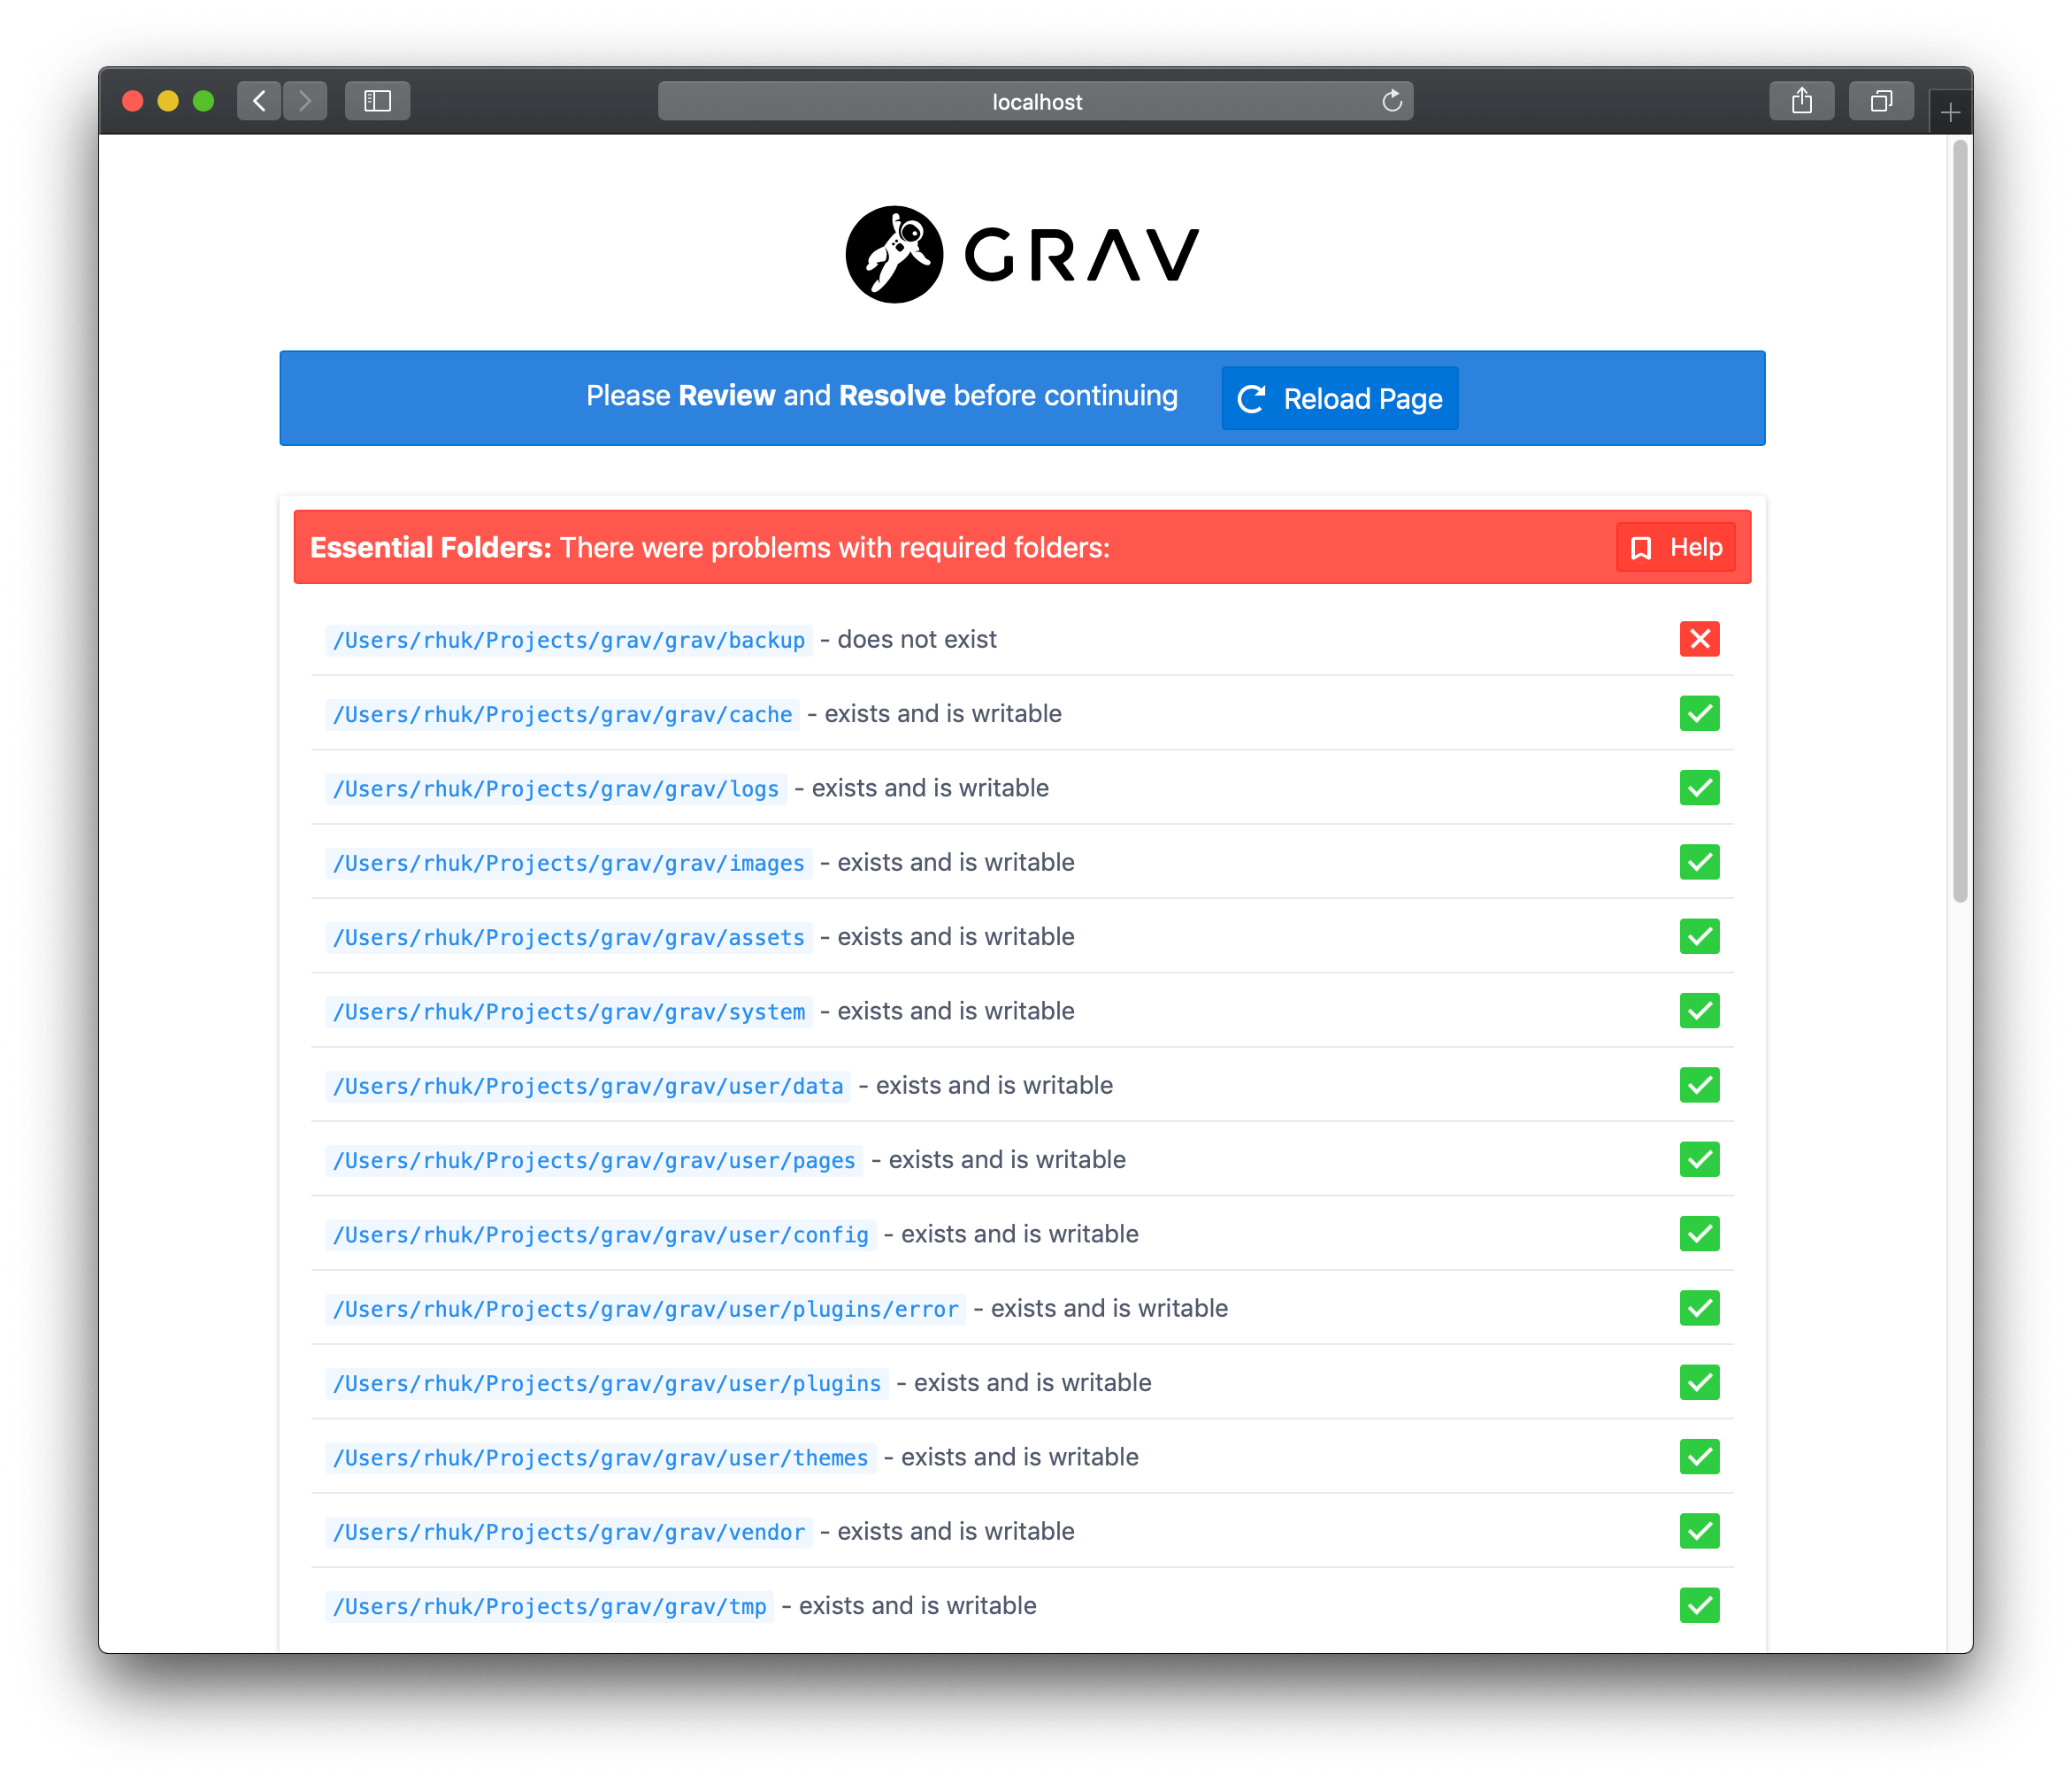
Please consult the Troubleshooting section for help regarding specific issues.
Warning
If you have issues with file permissions, please check the Permissions Troubleshooting documentation. Also, you could look at the Hosting Guides documentation that has specific instructions for various hosting environments
Grav Updates
To keep your site up to date, please read Updating Grav & Plugins.