Blueprints
What is a Blueprint?
Blueprints are an important aspect of Grav. They are essentially the foundation of a theme or plugin's interaction with the Grav admin. They tell Grav what a theme or plugin is, its name, where it can be found on GitHub, etc. It also generates the configuration options for that theme or plugin in the Grav admin.
A Blueprint is defined in a YAML file, and can generally host properties as well as form definitions.
The vast majority of Grav users will never have to work with Blueprints. Simply put, they determine how plugins and themes appear in the back-end of the site. For most users, this is where they pick up, configuring their themes and plugins using the Grav admin or manipulating options within the theme or plugin's primary YAML file.
The folks that will work the most with Blueprints are developers that are creating new themes and plugins and customizing a resource's options in the back end. They're a powerful tool that defines what your resource is, where Grav can find updates for it, and what configuration options you should be able to set in the back end.
Types of Blueprints
Grav uses Blueprints to:
- define themes and plugins information.
- define theme/plugin configuration options to be shown in the Admin.
- define the Pages forms in the Admin.
- define the options shown in the Configuration Admin section.
- define flex directories/objects.
At this point, we will break down additional details about how Blueprints work in Grav.
Themes and Plugins
When used with themes and plugins, the convention is to put a blueprints.yaml in the package. Doing this tells Grav the metadata of that resource, which introduces it to the Grav admin.
A blueprints.yaml file is an important part of any theme and plugin. It's essential for the GPM (Grav Package Manager) system. GPM uses the information stored in the blueprint to make the plugin available to users.
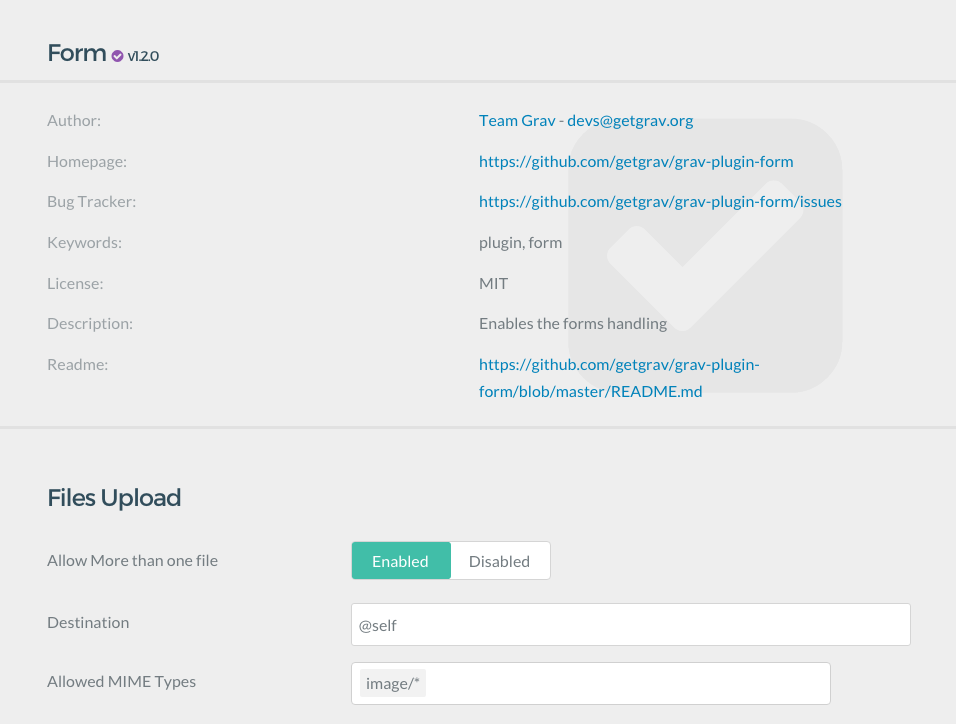
In our example plugin blueprint, we dive into the blueprint of the Assets plugin. This blueprint sets the name, author information, keywords, home page, bug report link, and other metadata that not only tells Grav where it can locate updates for the plugin, but to provide a useful resource to the user accessible from the Grav Admin.
Once this information is given, further down in the Blueprint's page, you find forms information. This information creates the Admin Forms that are accessible by the user in the backend of Grav. For example, if you wanted to add a toggle that enables or disables a particular feature of that plugin, you would add it here.
The blueprints.yaml file works with the plugin's named YAML file (example: assets.yaml). The blueprint sets what the configurable options are, and the resource's self-named named YAML file sets their values. It's this named YAML file that is then duplicated to the Grav instance's user/config section to override these defaults either manually or through the Grav admin.
So essentially, when it comes to any configuration option for a theme or plugin, the blueprints.yaml file defines it, and the named YAML file for that resource tells you what it is set at.
Pages
Grav Pages can really be anything. A page can be a blog listing, a blog post, a product page, an image gallery, etc.
What determines what a page should do and how it should appear is the Page Blueprint.
Grav provides some basic Page Blueprints: Default and Modular. Those are the two main building blocks of Grav.
Additional page Blueprints are added and set up by the theme, which might decide to add as many page Blueprints as possible, or focus on some particular Page blueprints focused on what it needs to do.
A Grav theme is much more flexible and powerful than what you might be used to on other platforms.
This allows themes to be application specific. For example, a theme might specialize in one of those goals:
- building a documentation site, like the one you are reading now.
- building an e-commerce site.
- build a blog.
- build a portfolio site.
A theme can also allow its users to build all of them, but usually a fine-tuned theme created for a single purpose can satisfy that goal better than a generic theme.
A page file is used by a page by setting its markdown file name, e.g. blog.md, default.md or form.md.
Each of those files will use a different page file. You can also change the file type by using the template header property.
The template used by a page not only determines the "look and feel" in the frontend, but also determines how the Admin Plugin will render it, allowing you to add options, select boxes, custom inputs and toggles.
How to do it: in your theme, add a blueprints/ folder and add a YAML file with the name of the page template you added. For example if you add a blog page template, add a blueprints/blog.yaml file. You can find an example of this directory in the Antimatter theme.
Components of a Blueprint
There are two sets of information presented in a blueprints.yaml file. The first set of metadata information is the identity of the resource itself, the second set is about the forms. All this information is stored in a single blueprints.yaml file stored at the root of each plugin and theme.
Here is an example of the metadata portion of a blueprints.yaml file:
name: GitHub
slug: github
type: plugin
version: 1.0.1
description: "This plugin wraps the [GitHub v3 API](https://developer.github.com/v3/) and uses the [php-github-api](https://github.com/KnpLabs/php-github-api/) library to add a nice GitHub touch to your Grav pages."
icon: github
author:
  name: Team Grav
  email: d[email protected]
  url: https://getgrav.org
homepage: https://github.com/getgrav/grav-plugin-github
keywords: github, plugin, api
bugs: https://github.com/getgrav/grav-plugin-github/issues
license: MIT
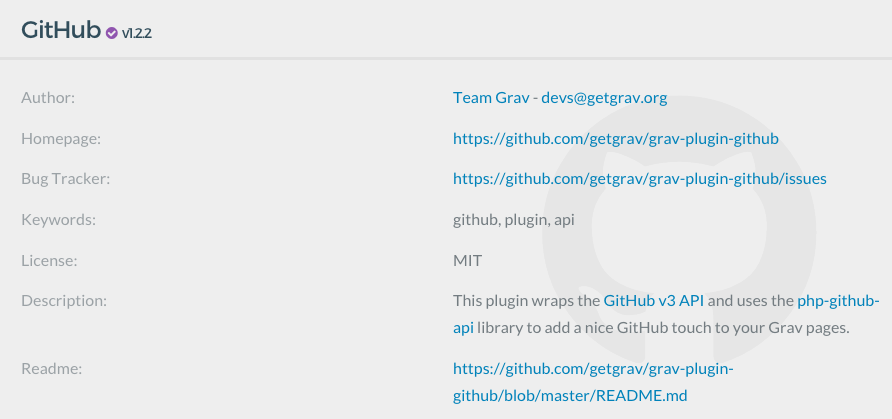
As you can see here, this area contains a lot of general identifying information about the plugin, including its name, version number, description, author information, license, keywords, and URLs where you can find more information or report bugs. You can see this section in action in the screenshot taken from the Grav Admin below.
The next section is the forms area, which is just a couple spaces below the data listed above. This area of the blueprint generates forms and fields used to configure the plugin from the Grav Admin. Here is a quick example of this area of the blueprints.yaml file.
form:
  validation: strict
  fields:
    enabled:
        type: toggle
        label: Plugin status
        highlight: 1
        default: 1
        options:
            1: Enabled
            0: Disabled
        validate:
            type: bool
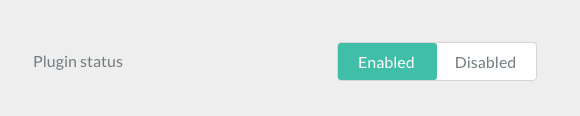
This area of the file creates any administrative options accessible in the Grav Admin. In this particular instance, we have created a simple Plugin Status toggle which lets the user enable or disable the plugin from the admin (pictured below).
Debugging Blueprints
Errors in Blueprint files may cause unexpected results.
Note
TIP: You can run CLI command bin/grav yamllinter to get a report on an errors in yaml files. This can be an invaluable when modifiying yaml files.