FAQ
This FAQ is intended to provide useful tutorials, tips, and tricks to help you get the most out of the Admin plugin.
Manual Installation of Admin
Manual installation is not the recommended method of installation, however, it is still possible to install the admin plugin manually. Basically, you need to download each of the following plugins individually:
Extract each archive file into your user/plugins folder, then ensure the folders are renamed to just admin/, login/, form/, and email/. Then proceed with the Usage instructions below.
Adding and Managing Users
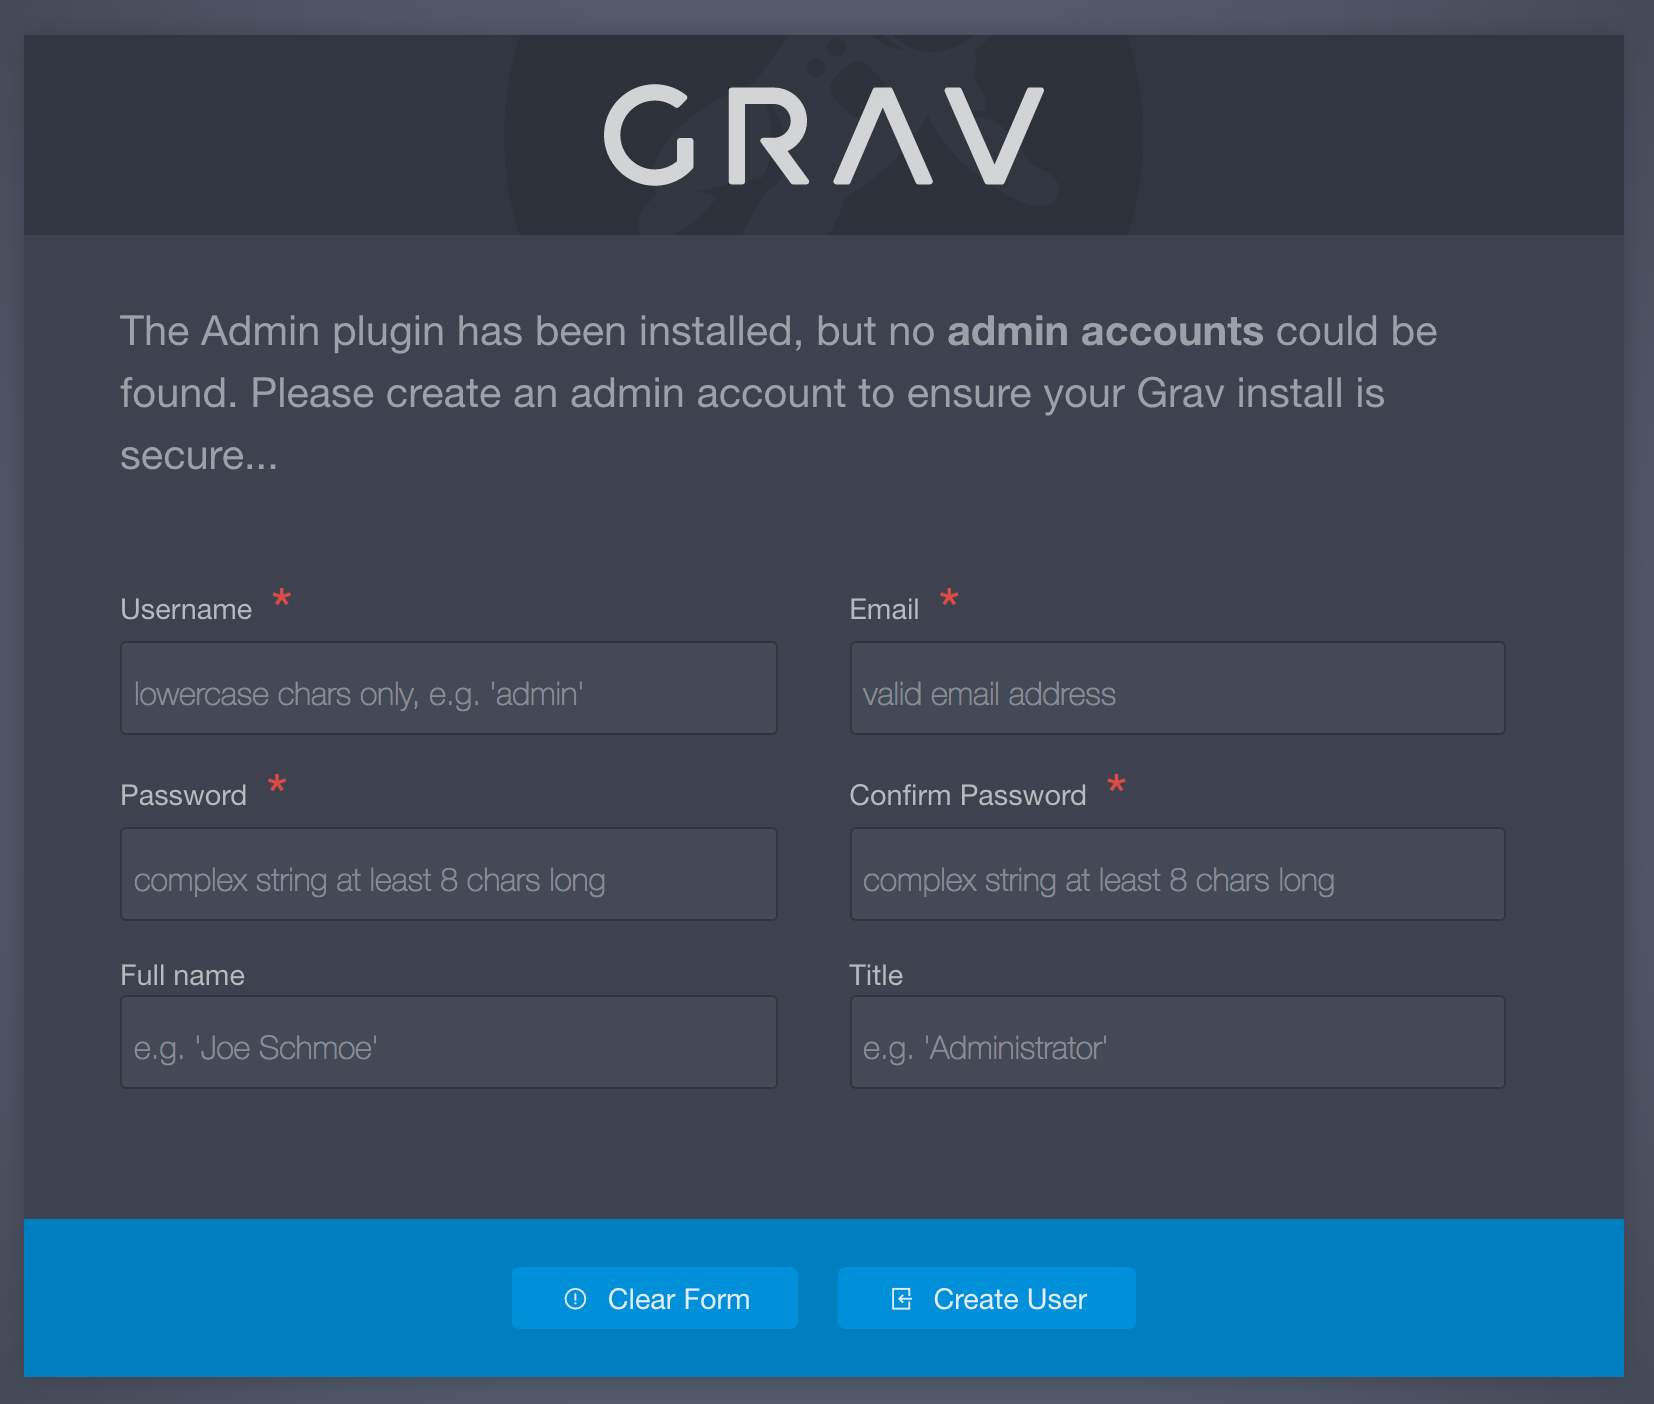
When you first install the Admin plugin, you will be prompted to create an admin user when you point your browser at your site. This is a simple web form that ensures at least one admin user has been created.

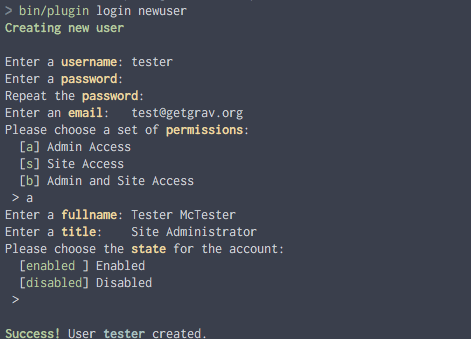
You can easily add other users but it requires a bit of work in the terminal/command prompt to do. From your terminal, access the root of the Grav site you'd like to add users to, and type the following command:
bin/plugin login newuser

This will initiate a series of prompts to guide you through the creation of a new user. These include creating a user name, password, email address, and setting the new user's permissions level.
Tip
You will need to have a user name consisting of between 3 and 16 characters which can include lowercase letters, numbers, underscores, and hyphens. Uppercase letters, spaces, and special characters are not allowed for the user name.
At one point during the creation process you will be asked to choose a set of permissions for the new user. There are currently three options:
| Role(s) | Description |
|---|---|
| Admin | Gives the user access to the Admin back end. This role does not include front end access to protected pages. |
| Site | Gives user access to all pages in the front end. This is the equivalent of a logged-in user. |
| Admin and Site | Gives user access to the entire site, front and back end. |
User data is stored in SITE_ROOT/user/accounts/ and each user is given a YAML file containing that user's login information and other details. Here is an example of the data contained within a user account file. For example this could be the content of SITE_ROOT/user/accounts/tester.yaml.
Caution
The filename tester.yaml dictates the username is tester
 1email: t[email protected]
 2access:
 3  admin:
 4    login: true
 5    super: true
 6  site:
 7    login: true
 8fullname: 'Tester McTesting'
 9title: Admin
10hashed_password: $2y$10$5RAUI6ZCISWR.4f0D6FILu3efYq3078ZX/.9vtAnZbjxS/4PXN/WW
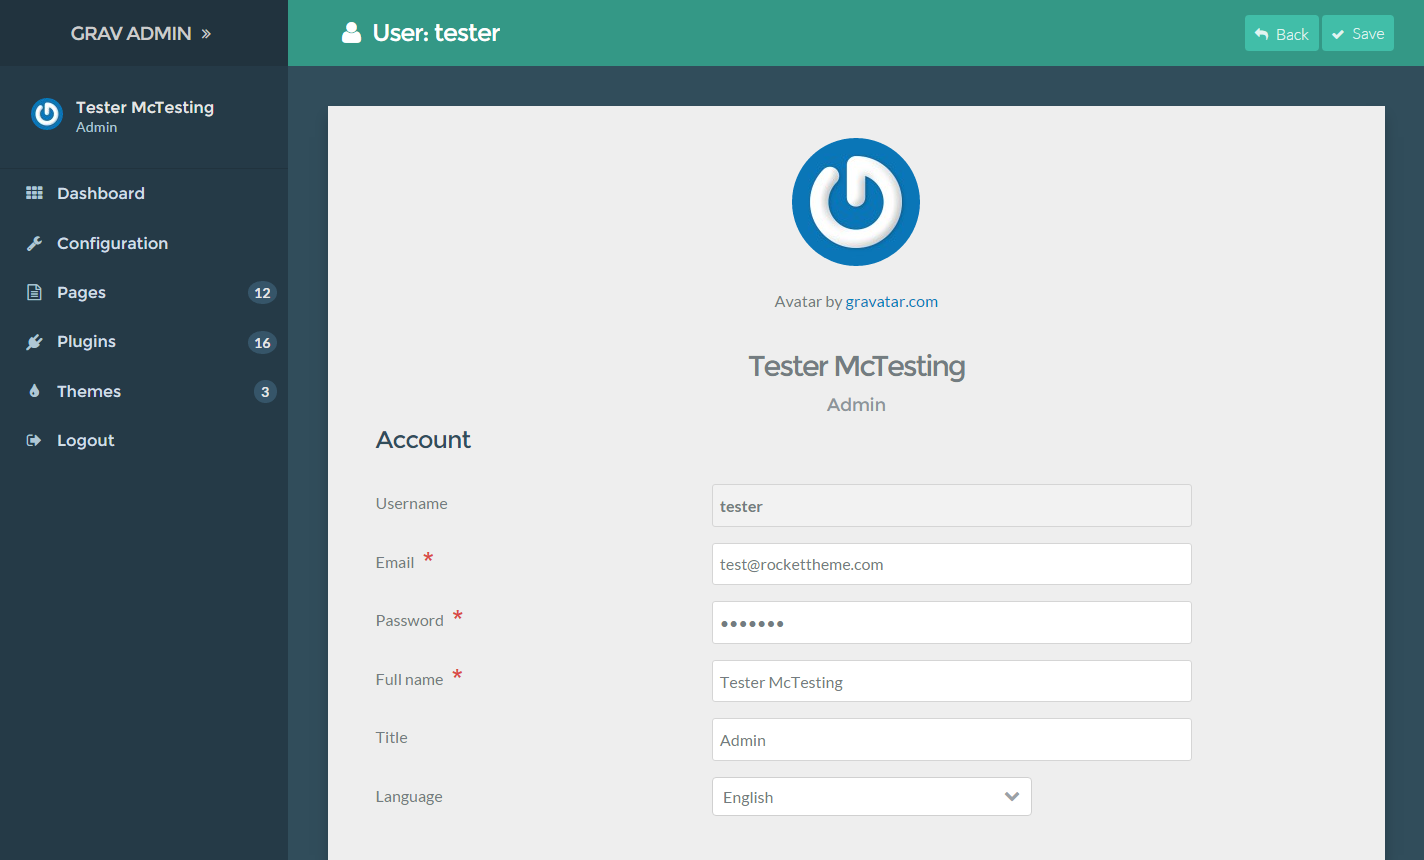
You can edit this information directly to the user's YAML file, or by selecting your user avatar from the sidebar of the admin. This will take you to a page where you can easily manage user information.

Caution
Avatar photos are automatically generated by Gravatar, based on the user's email address.
For security reasons, user passwords are stored as a hash. If you would like to change your password, we recommend doing so from within the admin.
Managing ACL
Every user yaml file has an access property. By setting this property appropriately, you can grant a specific user access to just a specific part of the admin.
Here are the currently supported access levels explained:
admin.login: allows a user to login to the adminadmin.super: grants a user super admin powers, allowing access to all the admin interface and functionality ignoring other access properties exceptadmin.loginadmin.pages: allows a user to view pages, edit them and add new onesadmin.maintenance: allows a user to update Grav from the admin side, check for updates and clear the cacheadmin.plugins: allows a user to access the plugins functionality, edit the plugins settings, disable plugins or add new onesadmin.themes: allows a user to access the themes functionality, edit theme settings, change themes and add new onesadmin.statistics: allows a user to see the site statisticsadmin.cache: allows a user to clear the cacheadmin.configuration: allows a user to access the configuration of the instance. Permission for the individual parts have to be given separately via the variables listed below. Only enabling the "sub-variables" without enabling this variable will not enable the configuration menu for the user.admin.configuration_system: allows a user to change the system settingsadmin.configuration_site: allows a user to change the site settingsadmin.configuration_media: allows a user to edit the available media typesadmin.configuration_info: allows a user to view the info about this instance
- other access levels, which have not yet been explained are:
admin.toolsadmin.settingsadmin.users
Caution
Changes made to a user.yaml file while that user is logged-in will only take effect after they log out and back in again.
Custom Admin URL
One way to help keep your admin panel secure is to hide its location. To do this would be to change the URL from
http://yourwebsite.com/admin
to something more ambiguous that is going to be harder for someone to guess. To do this you need to locate admin.yaml which can be found in user/plugins/admin/ folder and copy this to user/config/plugins/admin.yaml.
Then change the line route: '/admin' to something more ambiguous, for example route: '/myspecialplace', this way if you need to access the admin panel for your grav site you will enter
http://yourwebsite.com/myspecialplace
Offline Mode

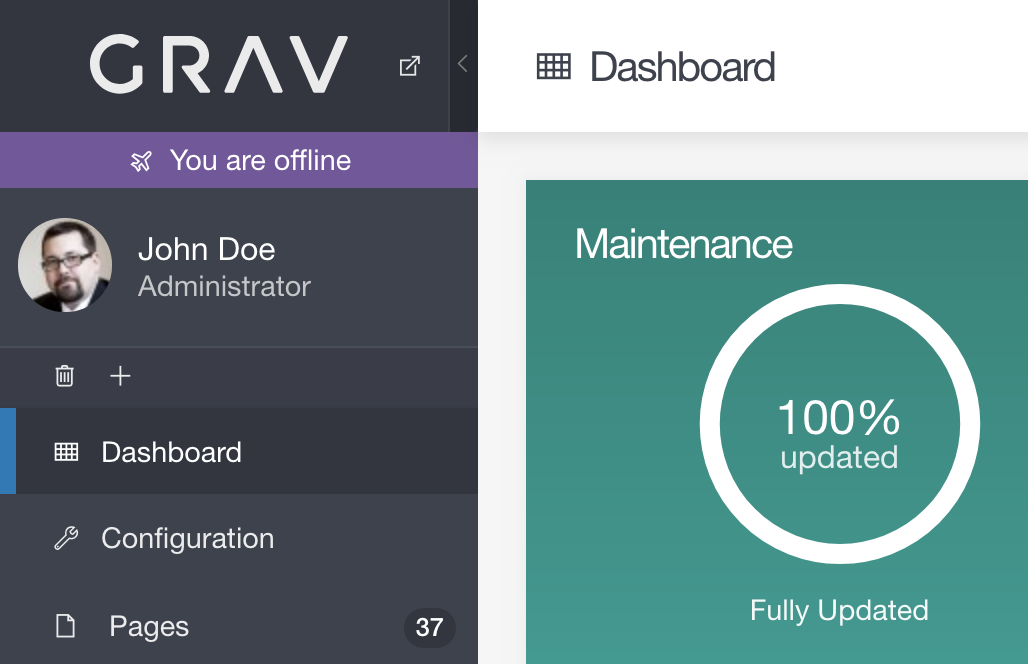
In the event that your server loses its connection to the Internet, the Grav Admin automatically enters into an Offline Mode. This mode is indicated by a notice below the low in the upper-left corner of the admin.
When in Offline Mode, the admin will not attempt to retrieve updates to the CMS, plugins, or themes. This prevents hangups and other issues that would otherwise result from being unable to reach the update servers.
Once an Internet connection is re-established, the notice will disappear and Offline Mode will end, automatically.