Getting Started
This section contains a walk-through on how to quickly enable an existing Flex Directory and how to display it within the Grav admin. In our examples we are using the Contacts Flex Directory which comes included with the Flex Objects Plugin for demonstration purposes.
Enabling a Directory
To enable a custom Flex Directory, navigate to Plugins > Flex Objects in the Grav Admin.
Towards the bottom of the page you will see the Directories configuration setting. This setting lists all detected Flex Directories in your project.
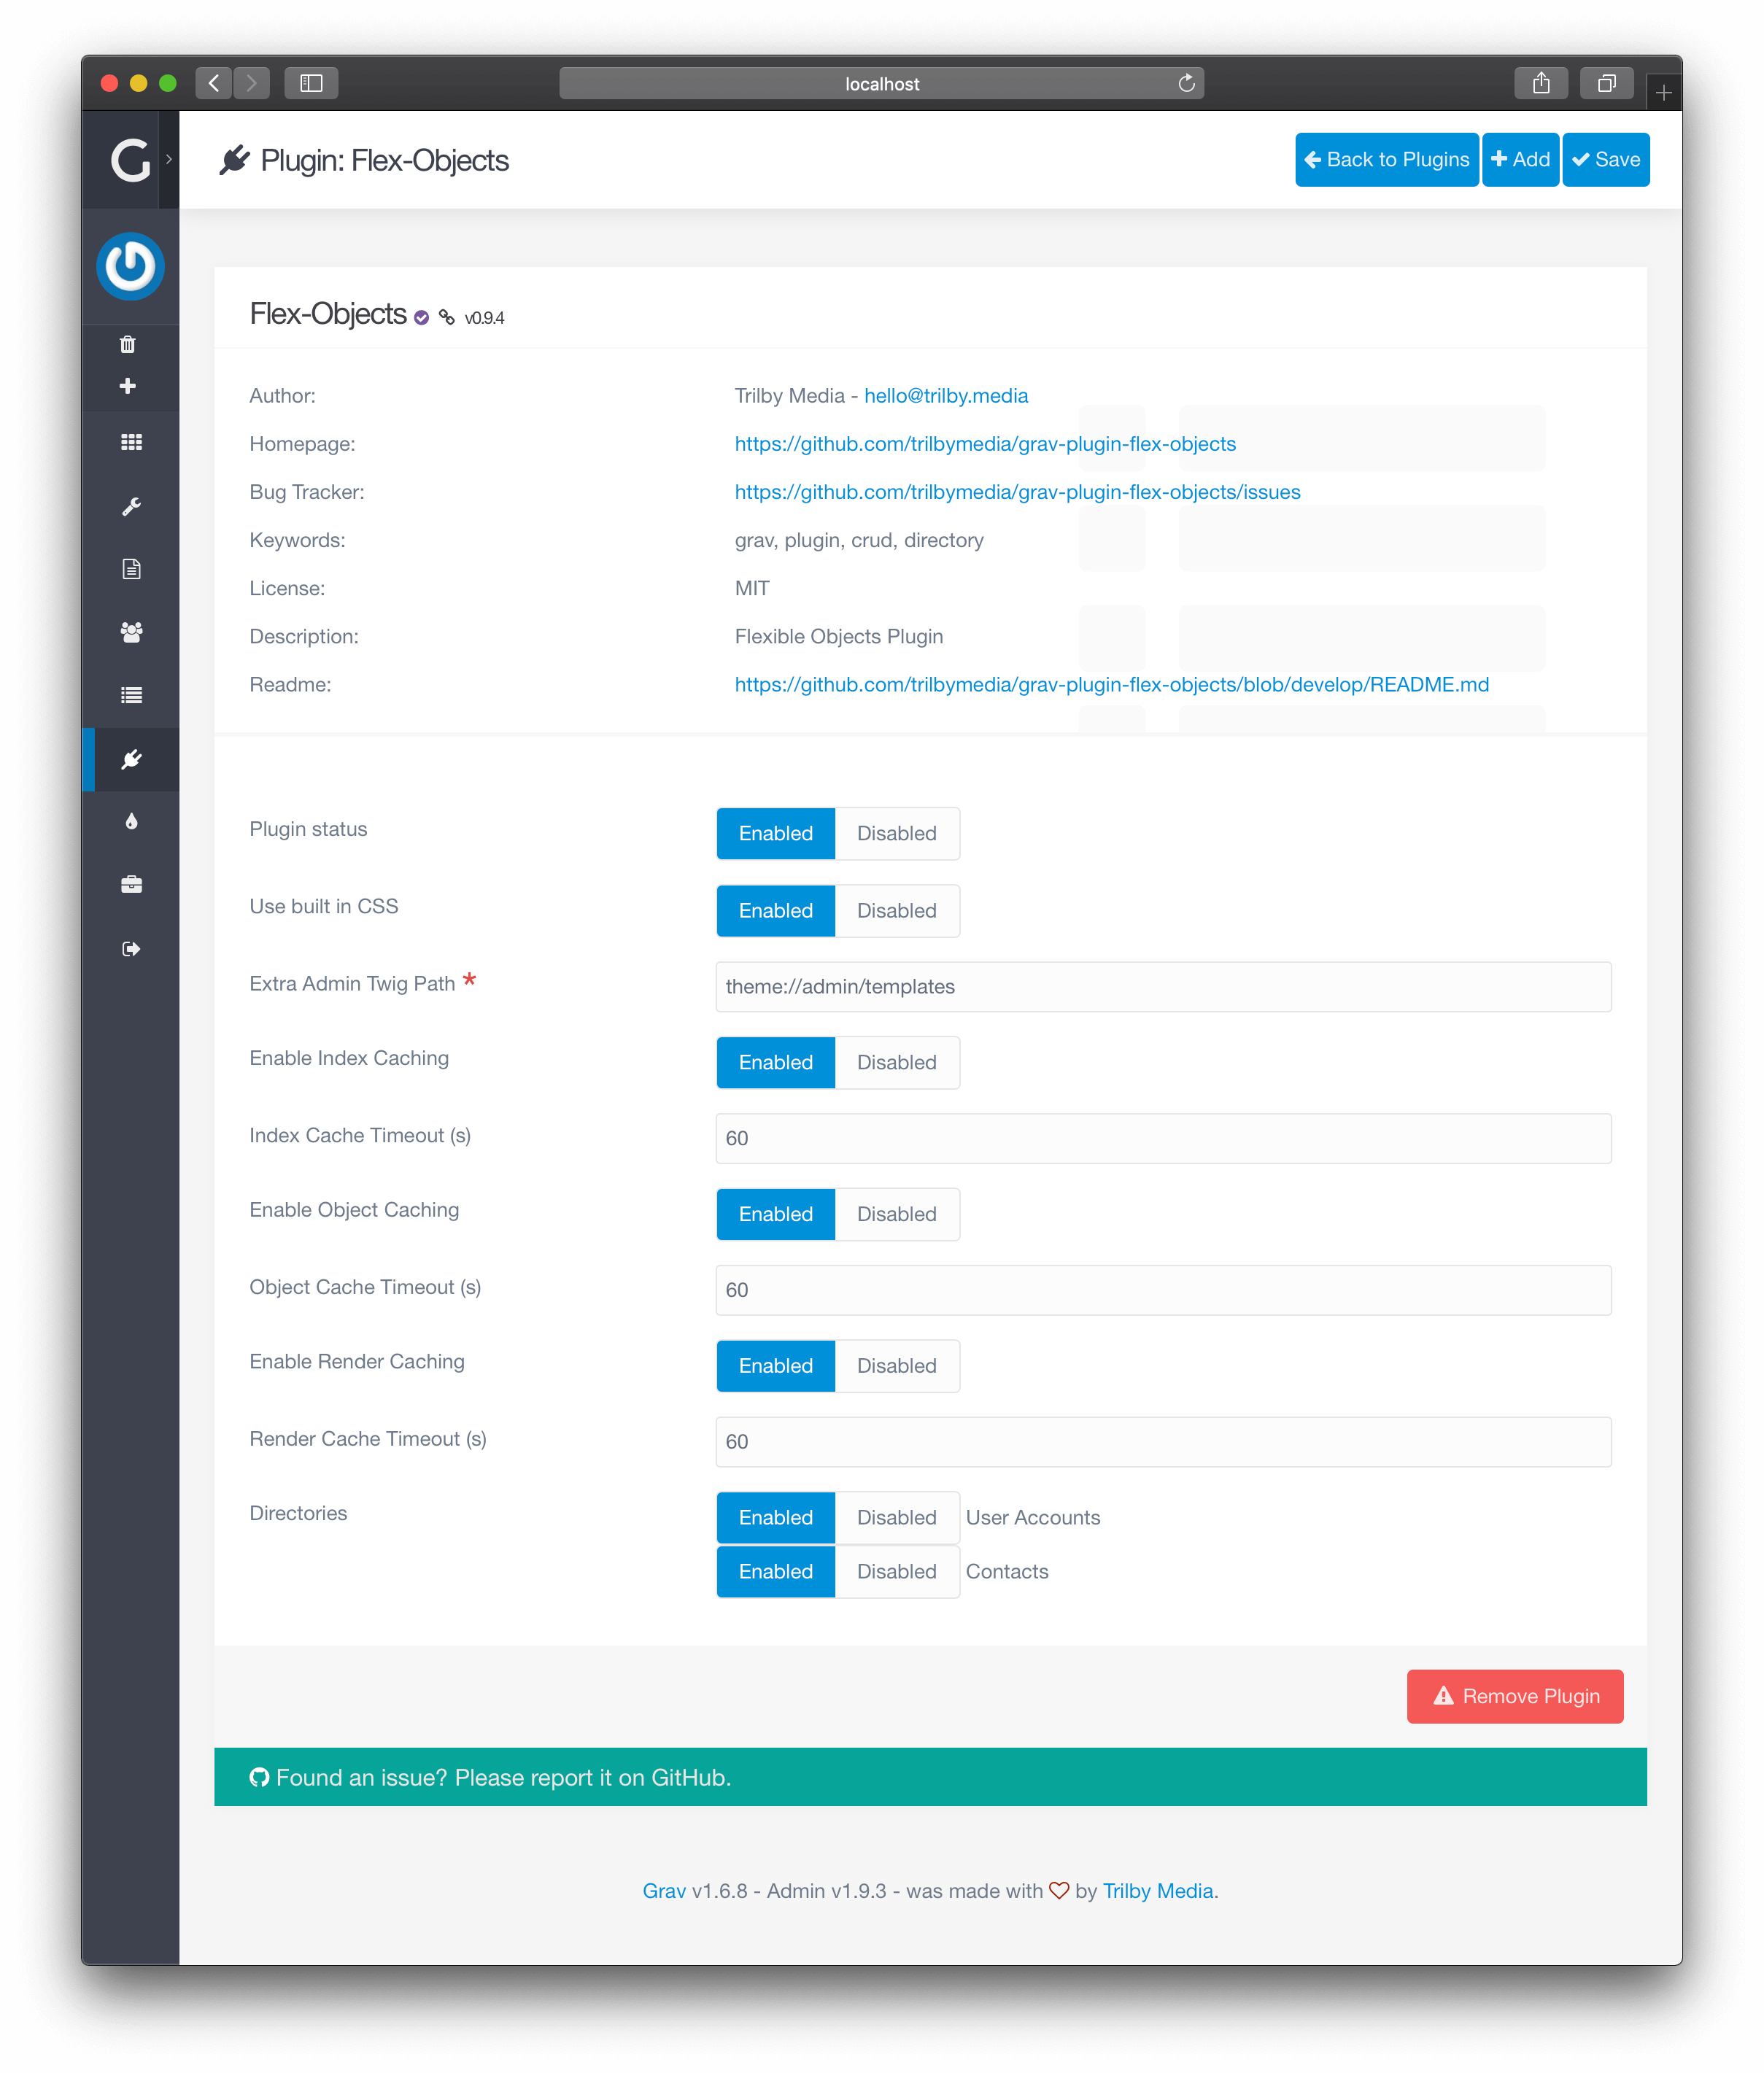
Locate any directories you would like to enable and ensure the Enabled option is checked.
For this demonstration, let's enable the Contacts directory and click Save at the top of the page.
After the page reloads, you should see a new item in the Grav Admin menu titled Contacts.
Install Sample Data (Optional)
For our example, we assume that you have copied the sample data set for Contacts Directory:
$ cp user/plugins/flex-objects/data/flex-objects/contacts.json user/data/flex-objects/contacts.json
Create a Page
Go to Pages and add a new page. Enter following values:
- Page Title:
Directory - Page Template:
Flex-objects
After this you can click on Continue button.
In the Advanced Content Editor ensure your frontmatter contains the flex.directory of contacts as follows:
---
title: Directory
flex:
  directory: contacts
---

# Directory Example
When you are happy with the page, hit Save.
Warning
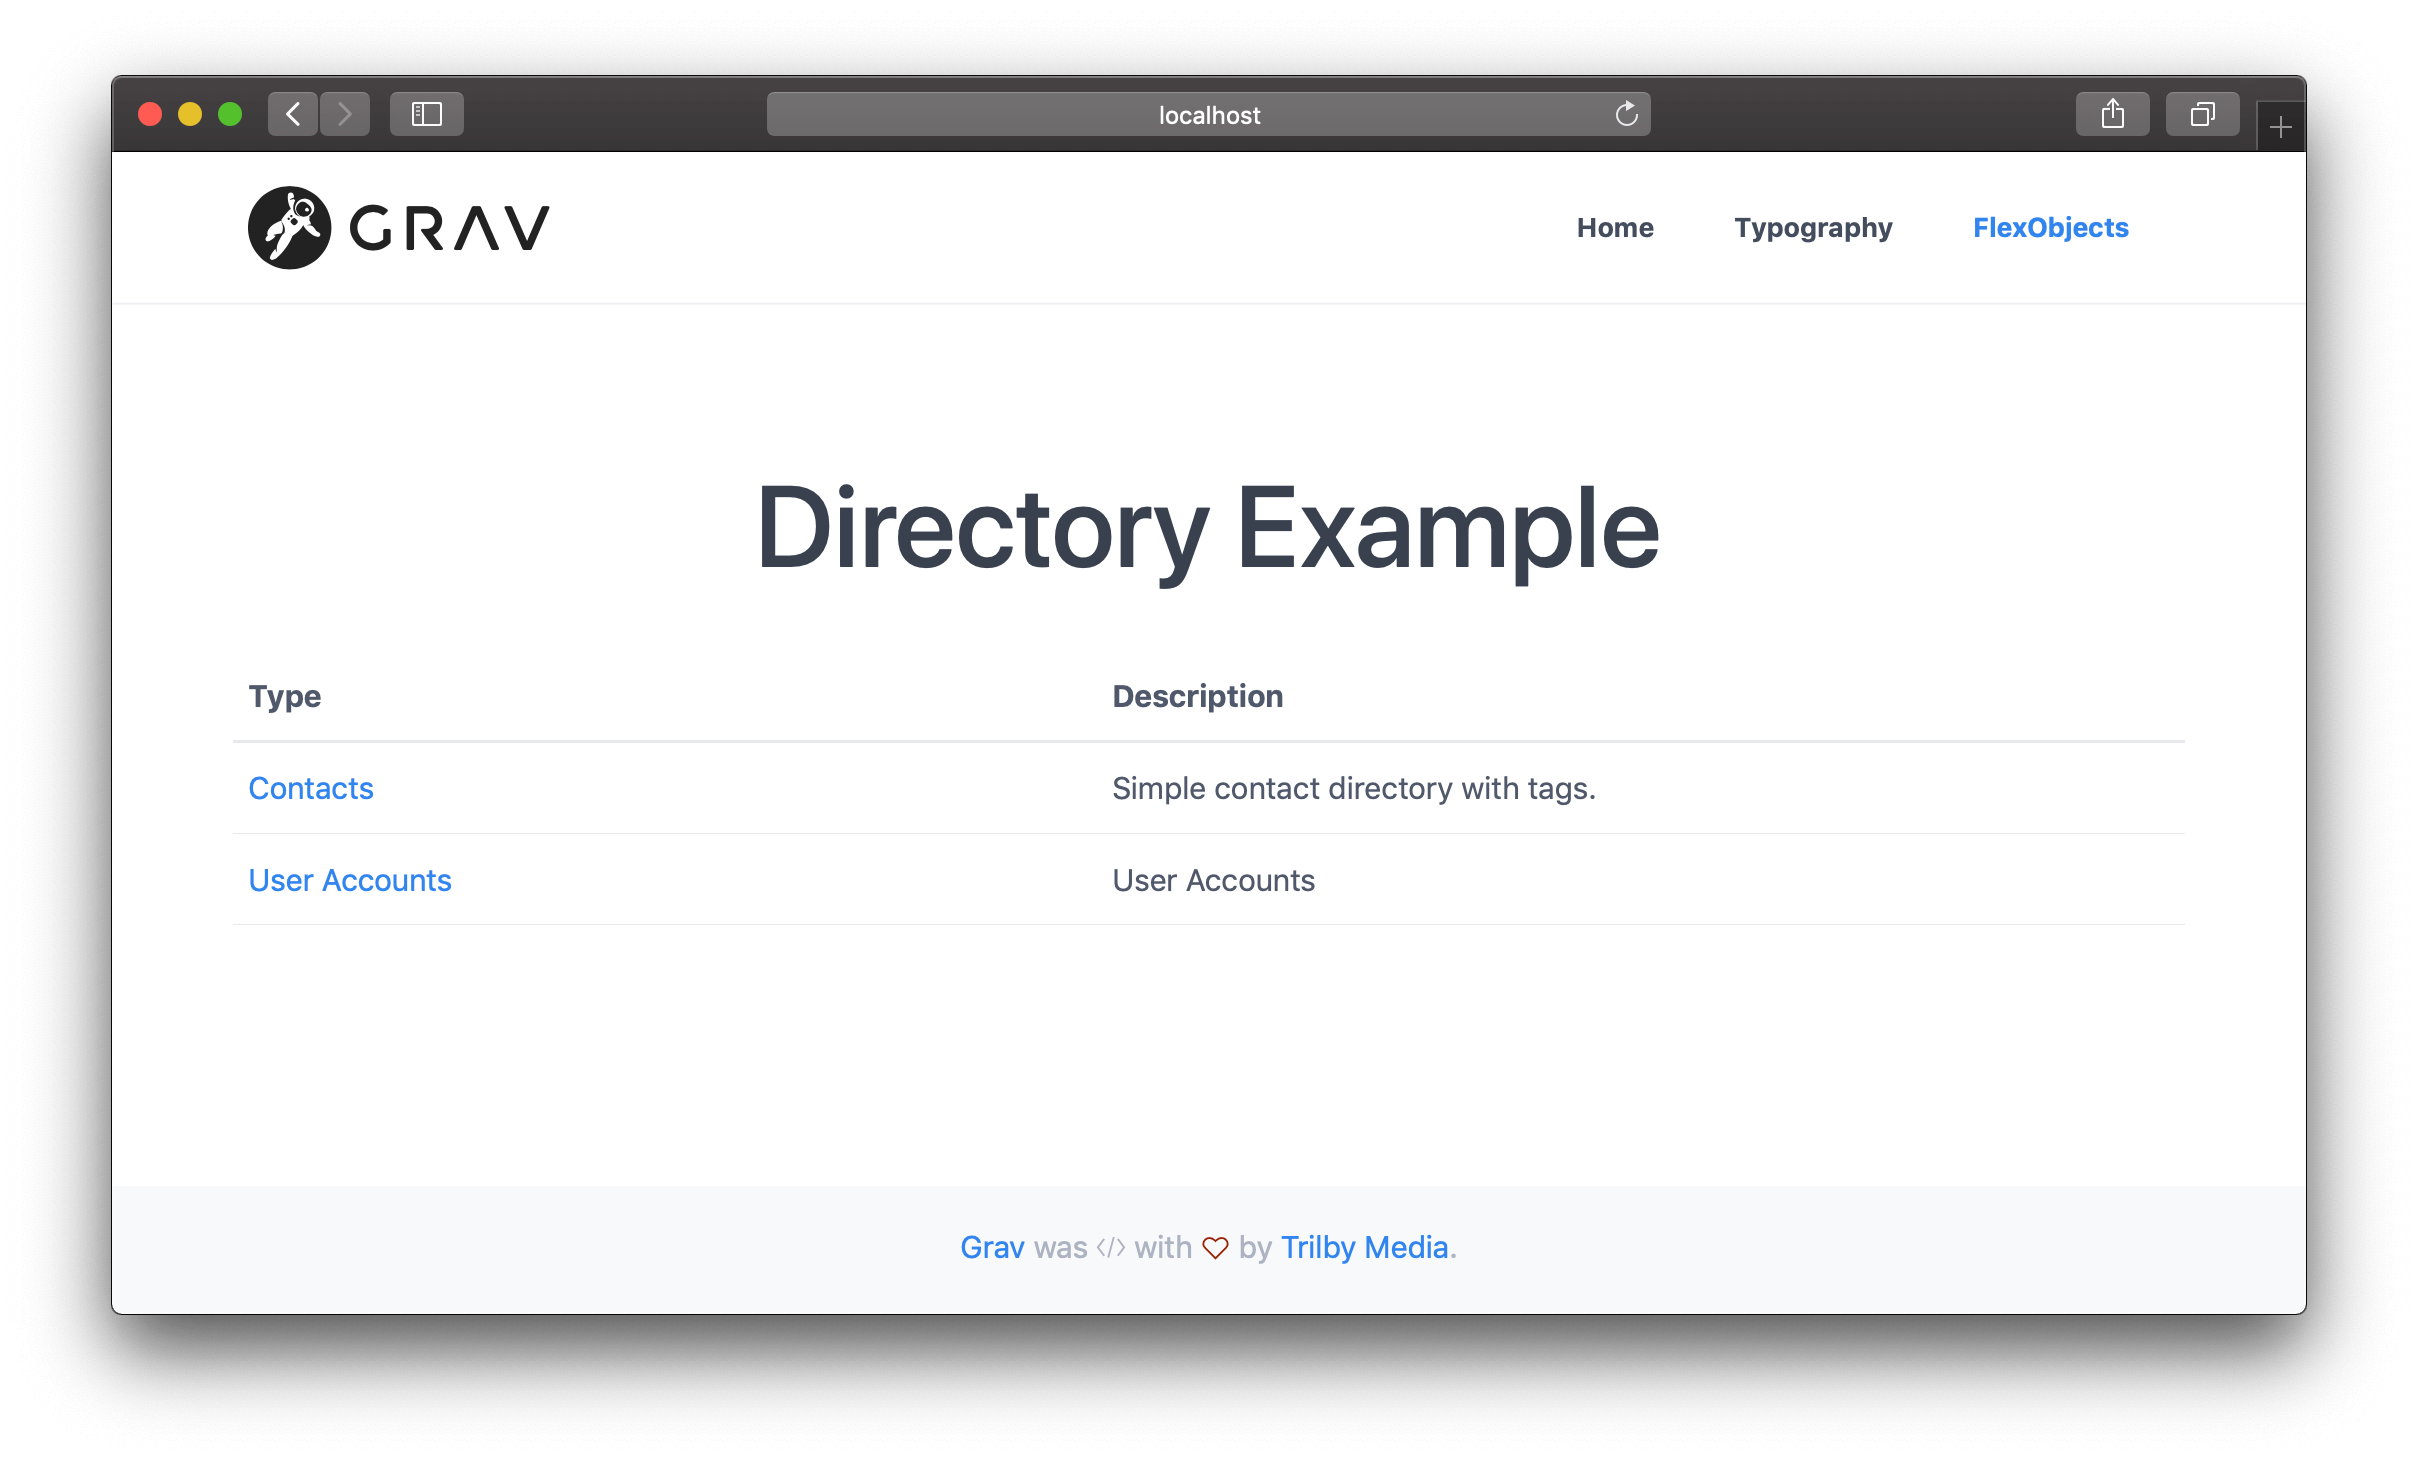
TIP: If you do not specify Flex Directory, the page will list all directories instead of displaying entries from a single directory.
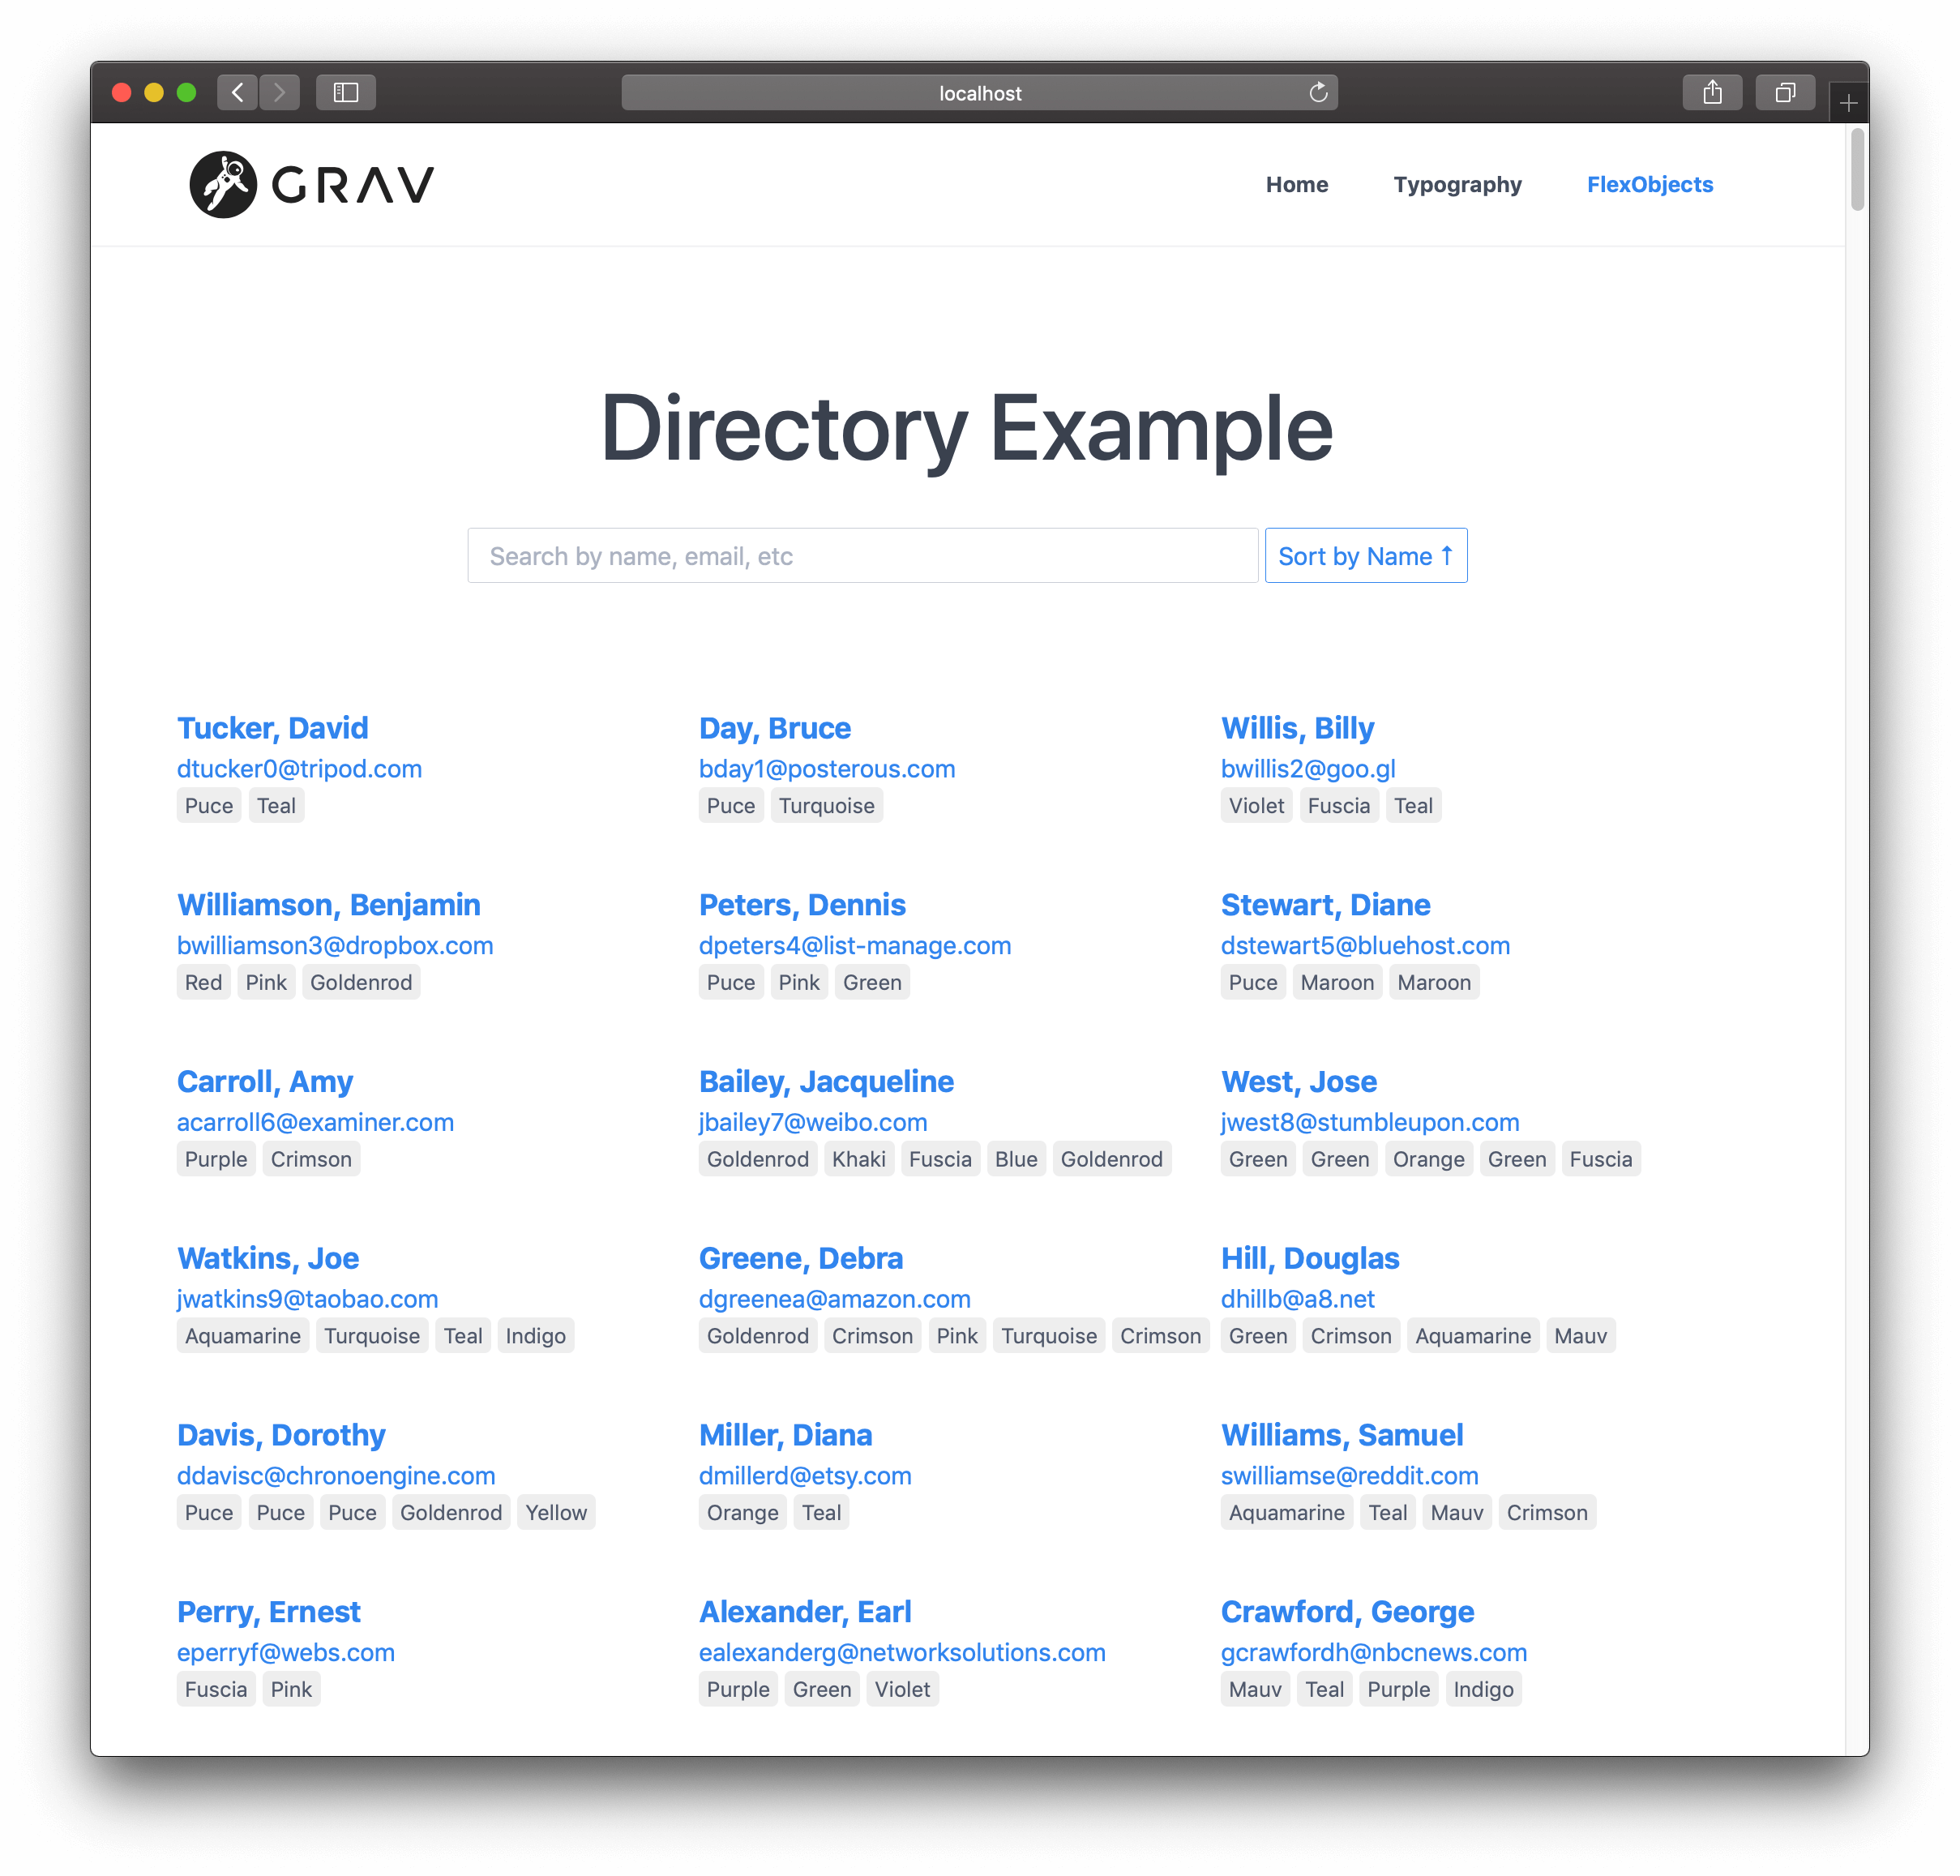
Display the Page
Navigate to the page you created. You should see the following page which contains Contacts:
In case if you did not select any directory, this is what you would see instead: