Linode
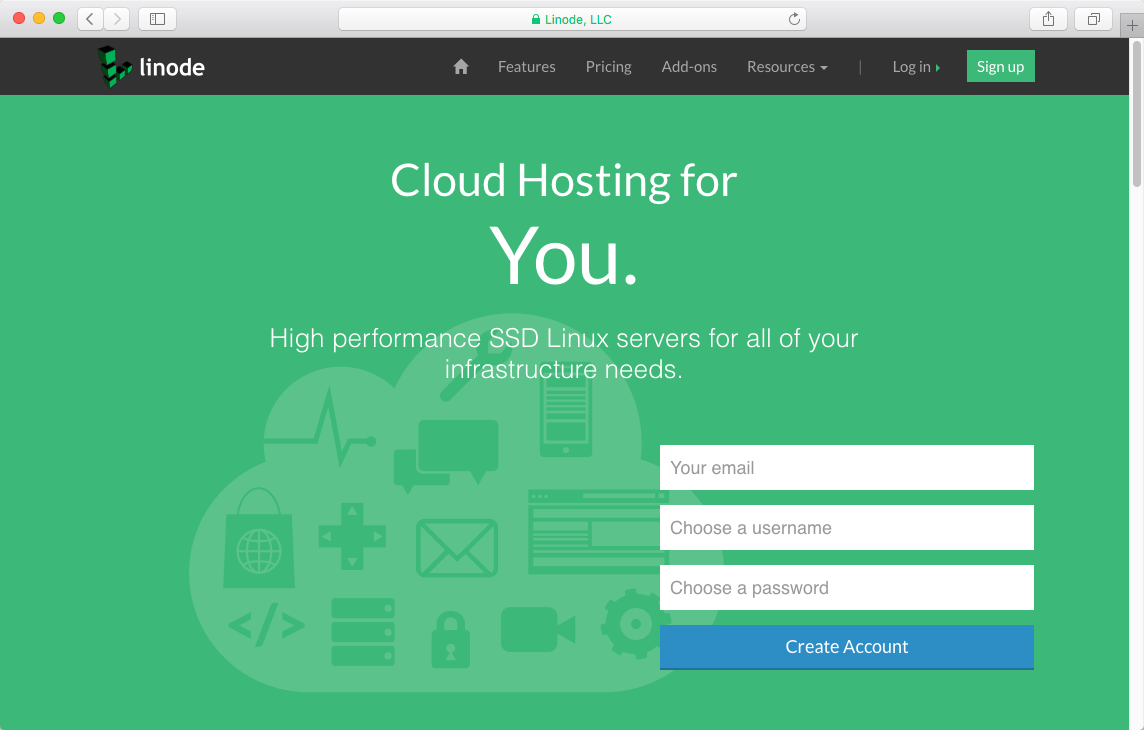
Linode has been in the VPS game for quite some time and focus on providing lightning-quick SSD equipped Linux servers for developers. There is a quick and easy process to getting a server up and running that involves: picking a pricing plan, picking a Linux distribution, and then choosing a node location that is best suited to your needs.
Note
You can now install Grav directly onto a new Linode Virtual Private Server using their Linode Maketplace app.
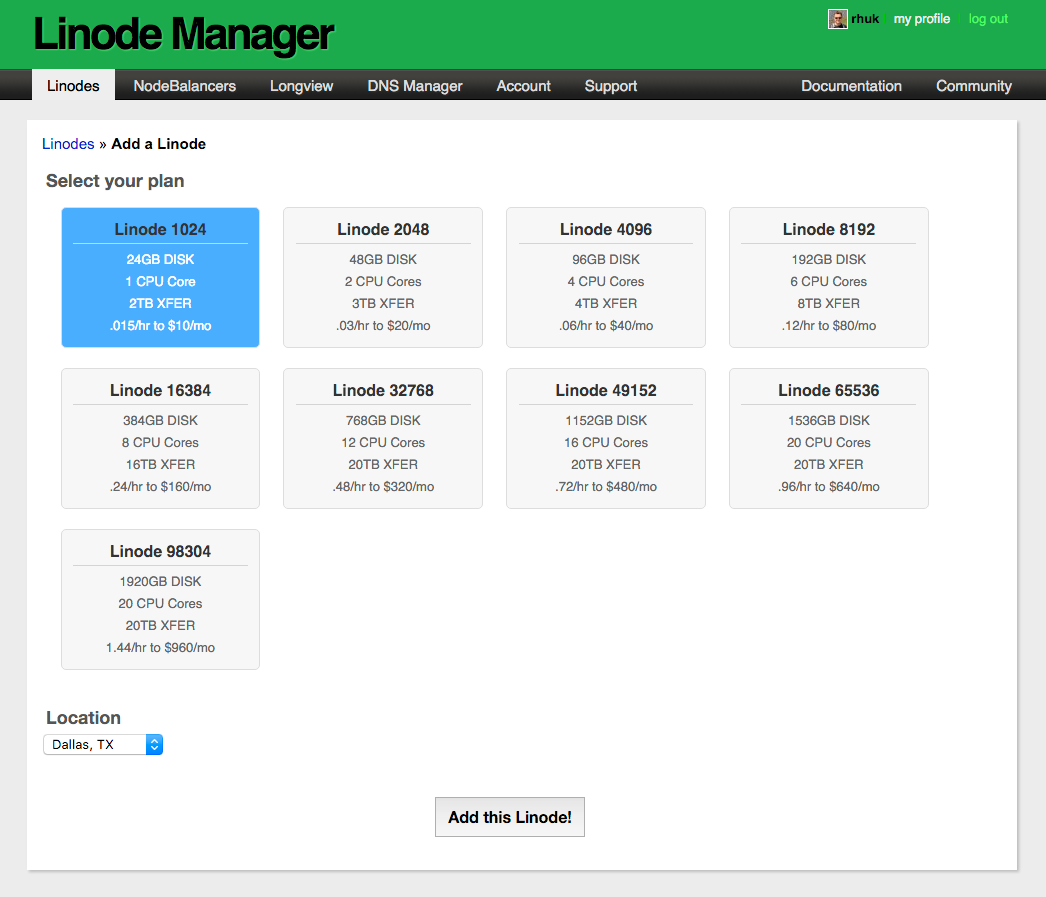
After creating an account and navigating to the Linode Manager, you first need to add a Linode. For this test, we will pick the smallest and cheapest option at $10/month for 1 CPU core and 24GB of SSD Disk space. There are plenty of scaling options here all the way up to 20 CPU cores and 2GB of disk space! Also remember to choose an appropriate location from the drop-down:
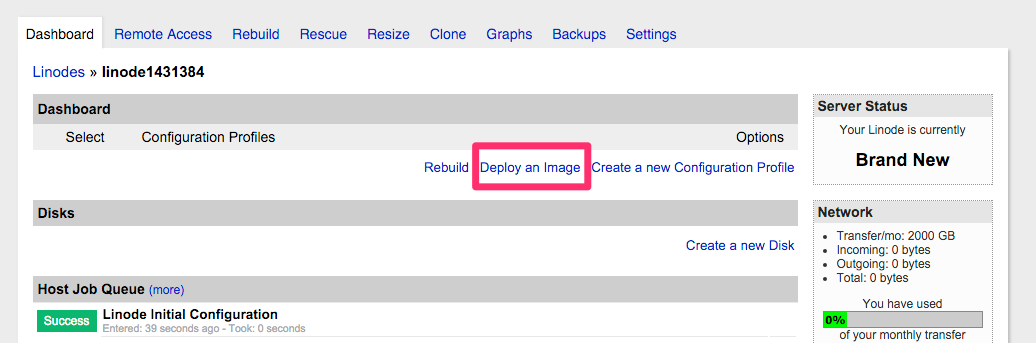
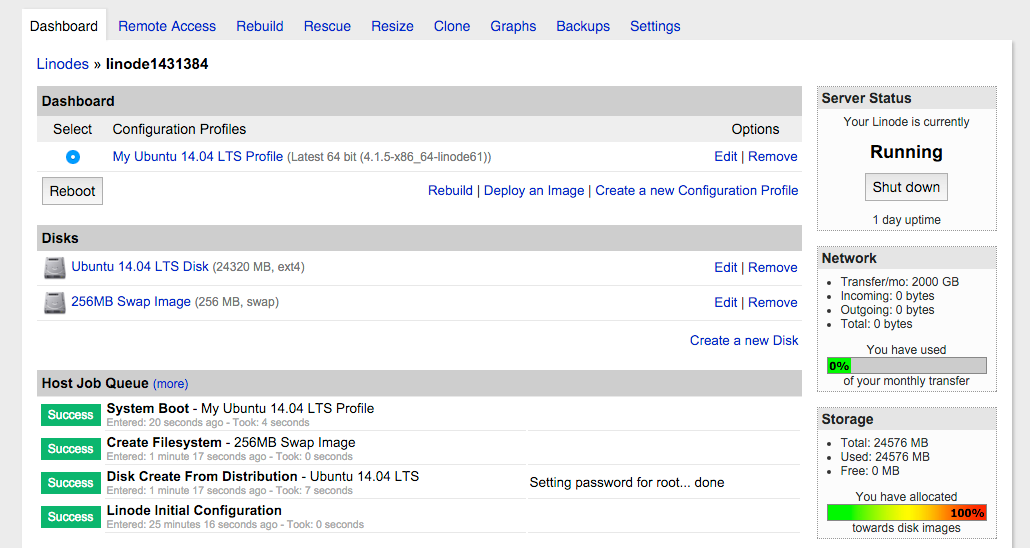
After the Linode has been created you will need to click the Dashboard link from the options column. This will take you to the page where you can now choose your distribution. From the Dashboard, choose Deploy an Image.
For the sake of compatibility and ease of use, I like to choose a stable distribution of Ubuntu. So Ubuntu 24.04 LTS it is! Leave the rest as defaults and provide a strong password, then click deploy:
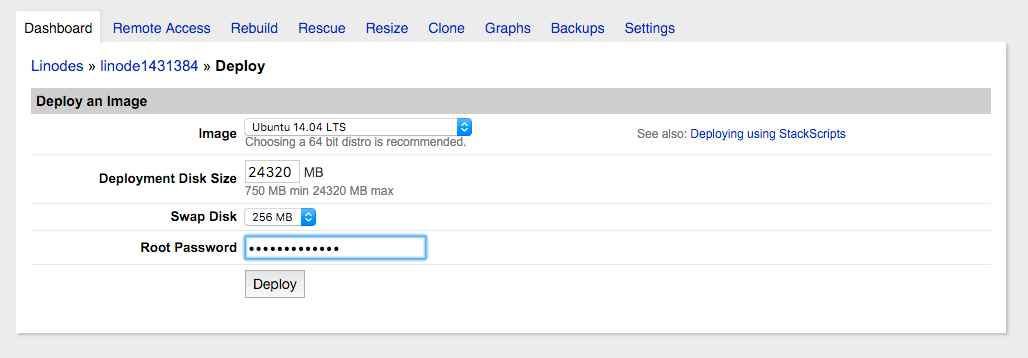
The creation of your server should take about 30 seconds, and after that you can click the Boot button to get it up and running:
You can click on the Remote Access tab in the Linode Manager to get relevant information about how to remotely connect to the VPS instance you have just setup. You can can SSH via the command provided in this tab using the password you entered when you created the distribution instance. Public key authentication is recommended, and Linode has good SSH public key authentication documentation that walks you through the steps required.
This guide covers installing Grav on a fresh Ubuntu 24.04 LTS (Noble Numbat) VPS with Nginx and PHP 8.3.
Initial Server Setup
First, set up a local /etc/hosts entry to give your server IP a friendly name such as vultr.dev. This makes it easier to SSH to your server:
Update System Packages
After connecting as root, update all installed packages:
apt update && apt upgrade -y
Install Required Packages
Install Nginx, PHP 8.3, and essential extensions for Grav:
apt install -y vim zip unzip nginx git \
    php8.3-fpm php8.3-cli php8.3-gd php8.3-curl \
    php8.3-mbstring php8.3-xml php8.3-zip php8.3-intl php8.3-apcu
This installs:
- Nginx - High-performance web server
- PHP 8.3-FPM - FastCGI Process Manager for PHP
- PHP Extensions - Required by Grav for image processing, caching, etc.
Configure PHP-FPM
Edit the PHP configuration for better security:
vim /etc/php/8.3/fpm/php.ini
Find cgi.fix_pathinfo (use /cgi.fix_pathinfo in vim to search), uncomment it and set to 0:
cgi.fix_pathinfo=0
Warning
This setting prevents PHP from executing the closest matching file when the requested file isn't found - a significant security risk if left enabled.
Create a Dedicated User
Create a grav user to run the site (don't run web apps as root):
adduser grav
Provide a strong password when prompted.
Configure PHP-FPM Pool
Create a dedicated PHP-FPM pool for the grav user:
cd /etc/php/8.3/fpm/pool.d
mv www.conf www.conf.bak
vim grav.conf
Add the following configuration:
 1[grav]
 2user = grav
 3group = grav
 4
 5listen = /run/php/php8.3-fpm-grav.sock
 6
 7listen.owner = www-data
 8listen.group = www-data
 9
10pm = dynamic
11pm.max_children = 10
12pm.start_servers = 3
13pm.min_spare_servers = 2
14pm.max_spare_servers = 5
15
16chdir = /
Create Web Directory
Switch to the grav user and create the web directory:
su - grav
mkdir -p ~/www/html
Create a test file to verify the setup:
echo '<?php phpinfo();' > ~/www/html/info.php
exit
Configure Nginx
Create the Nginx server block:
vim /etc/nginx/sites-available/grav
Add the following configuration:
 1server {
 2    listen 80;
 3    index index.html index.php;
 4
 5    ## Begin - Server Info
 6    root /home/grav/www/html;
 7    server_name _;
 8    ## End - Server Info
 9
10    ## Begin - Index
11    location / {
12        try_files $uri $uri/ /index.php?$query_string;
13    }
14    ## End - Index
15
16    ## Begin - Security
17    # deny all direct access for these folders
18    location ~* /(\.git|cache|bin|logs|backup|tests)/.*$ { return 403; }
19    # deny all direct access to these sensitive user folders, whatever the file type
20    location ~* /user/(accounts|config|env)/.*$ { return 403; }
21    # allow public media uploads under user/data (e.g. Flex Object images) to be
22    # served directly; this must come before the user/data deny so it wins the
23    # first-match. SVG is intentionally excluded as a stored-XSS vector.
24    location ~* /user/data/.*\.(jpe?g|png|gif|webp|avif|bmp|ico|mp4|webm|ogg|ogv|mov|mp3|wav|m4a|flac|pdf)$ { try_files $uri =404; }
25    # deny everything else under user/data, whatever the file type
26    location ~* /user/data/.*$ { return 403; }
27    # deny running scripts inside core system folders
28    location ~* /(system|vendor)/.*\.(txt|xml|md|html|htm|shtml|shtm|json|yaml|yml|php|php2|php3|php4|php5|phar|phtml|pl|py|cgi|twig|sh|bat)$ { return 403; }
29    # deny running scripts inside user folder
30    location ~* /user/.*\.(txt|md|json|yaml|yml|php|php2|php3|php4|php5|phar|phtml|pl|py|cgi|twig|sh|bat)$ { return 403; }
31    # deny access to specific files in the root folder
32    location ~ /(LICENSE\.txt|composer\.lock|composer\.json|nginx\.conf|web\.config|htaccess\.txt|\.htaccess) { return 403; }
33    # deny access to .env environment files
34    location ~ /\.env(\.|$) { return 403; }
35    ## End - Security
36
37    ## Begin - PHP
38    location ~ \.php$ {
39        fastcgi_pass unix:/run/php/php8.3-fpm-grav.sock;
40        fastcgi_split_path_info ^(.+\.php)(/.+)$;
41        fastcgi_index index.php;
42        include fastcgi_params;
43        fastcgi_param SCRIPT_FILENAME $document_root/$fastcgi_script_name;
44    }
45    ## End - PHP
46}
Enable the site and remove the default:
ln -s /etc/nginx/sites-available/grav /etc/nginx/sites-enabled/
rm /etc/nginx/sites-enabled/default
Test the configuration:
nginx -t
You should see:
nginx: the configuration file /etc/nginx/nginx.conf syntax is ok
nginx: configuration file /etc/nginx/nginx.conf test is successful
Start Services
Restart Nginx and PHP-FPM:
systemctl restart nginx
systemctl restart php8.3-fpm
Verify PHP is working by visiting http://YOUR_SERVER_IP/info.php. You should see the PHP info page with PHP 8.3 and APCu listed.
Caution
Remove the info.php file after testing: rm /home/grav/www/html/info.php
Install Grav
Switch to the grav user and download Grav:
su - grav
cd ~/www
wget -O grav.zip https://getgrav.org/download/core/grav/latest
unzip grav.zip
rm -rf html
mv grav html
Verify Installation
Visit http://YOUR_SERVER_IP and you should see the Grav is Running! page.
Test CLI Tools
Since you're running as the grav user, CLI tools work out of the box:
cd ~/www/html
bin/grav clear
Output:
Clearing cache

Cleared:  cache/twig/*
Cleared:  cache/compiled/*

Touched: /home/grav/www/html/user/config/system.yaml
GPM commands also work:
bin/gpm index
Optional: Install Admin Plugin
To install the Grav Admin panel:
bin/gpm install admin
Then visit http://YOUR_SERVER_IP/admin to create your admin account.
Optional: Enable HTTPS with Let's Encrypt
For production sites, enable HTTPS using Certbot:
apt install -y certbot python3-certbot-nginx
certbot --nginx -d yourdomain.com
Certbot will automatically configure Nginx for SSL and set up auto-renewal.