

Quickstart
You just enabled the Flex Objects plugin and the obvious question is: now what? This page is the ten-minute happy path. By the end you will have enabled a directory, loaded some sample data, browsed and edited it in Admin Next, and rendered it on the frontend two different ways.
We use the Contacts directory that ships with the plugin. It is a simple contact list (name, email, website, tags) and is perfect for getting your bearings before you build a directory of your own.
Note
New to the terminology? A Flex Directory (also called a Flex Type) is one collection of objects defined by a blueprint. Contacts is one directory; each individual contact is a Flex Object. The Concepts page explains the model in full.
Step 1: Confirm Flex Objects is installed and enabled
Flex Objects is a plugin. If you have not installed it yet, grab it from the CLI:
$ bin/gpm install flex-objects
Then confirm it is enabled. Either check Plugins in Admin Next and make sure Flex Objects shows as active, or look at the config file:
# user/config/plugins/flex-objects.yaml
enabled: true
Step 2: Enable the Contacts directory
The plugin ships the Contacts blueprint, but a directory does nothing until you activate it.
In Admin Next, go to Plugins > Flex Objects. Find the Directories field, which lists every Flex Directory the plugin has detected in your project (bundled ones, plus any you or a theme have added under user/blueprints/flex-objects/).
Enable Contacts and click Save. Under the hood this appends the blueprint path to the plugin config, so if you prefer editing YAML directly you can add it there instead:
# user/config/plugins/flex-objects.yaml
enabled: true
directories:
  - 'blueprints://flex-objects/contacts.yaml'
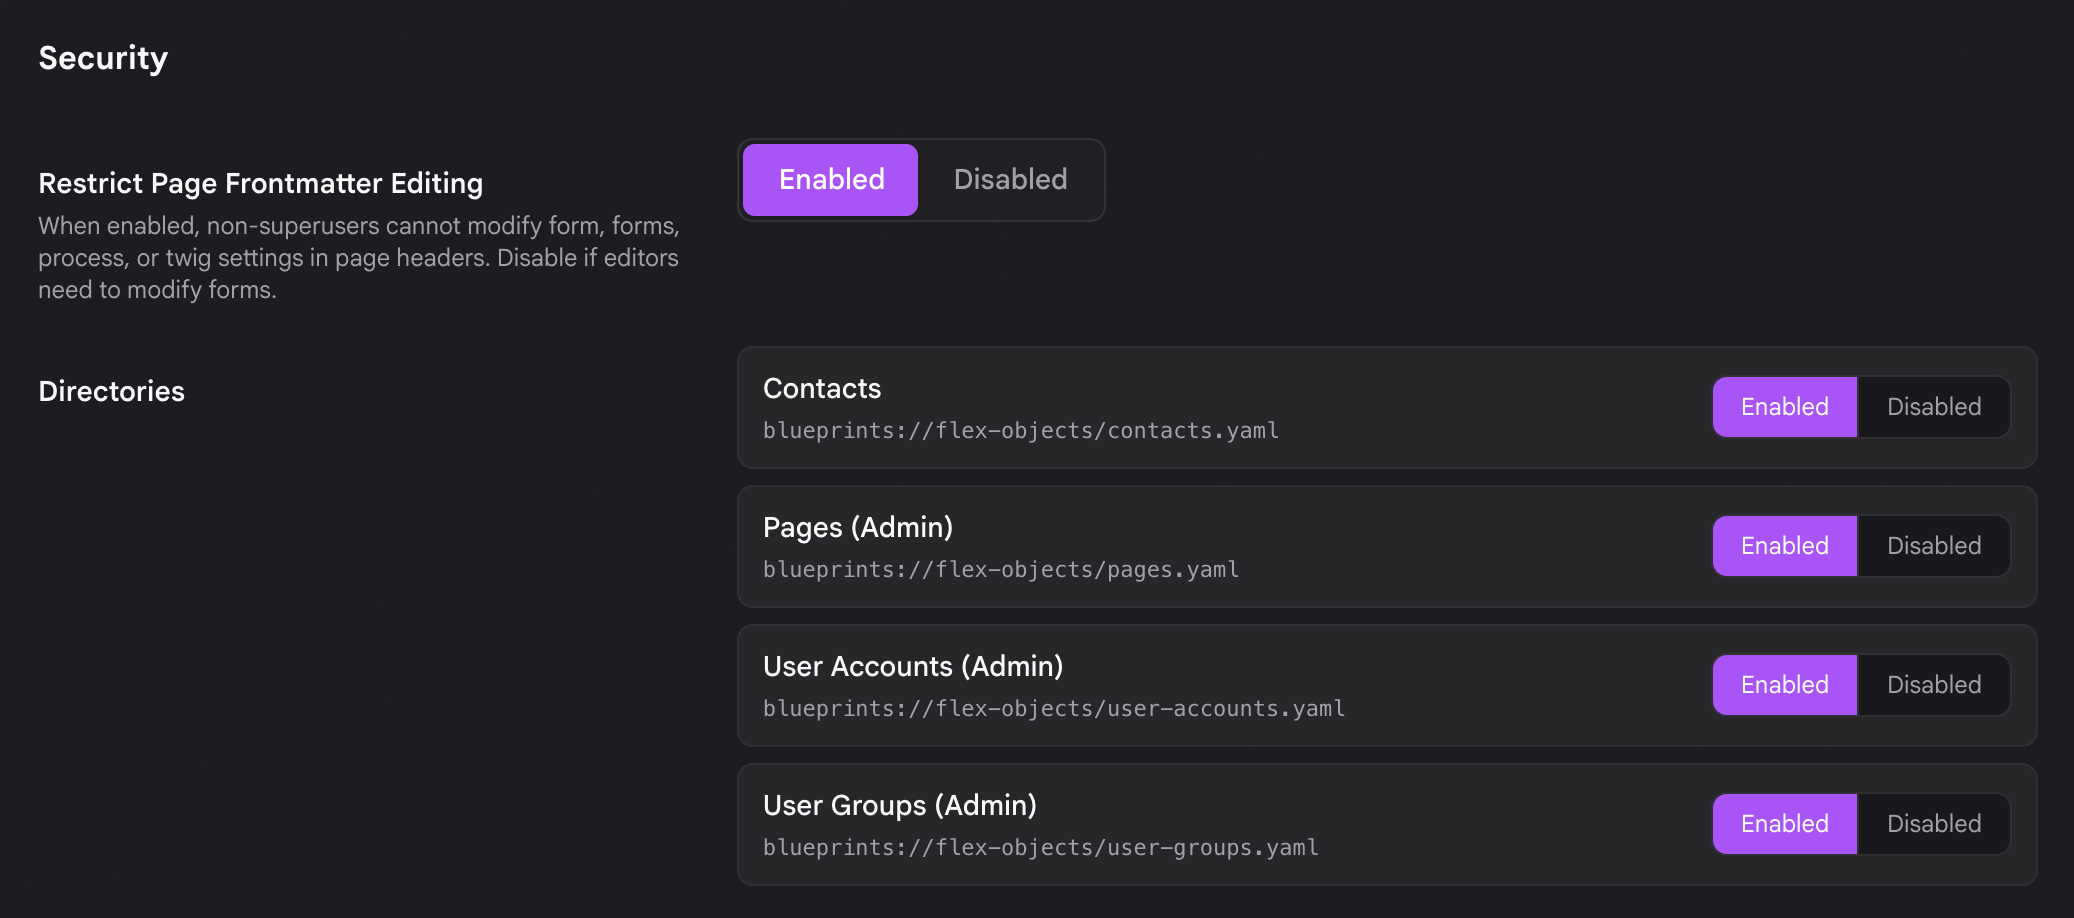
After the save, a new Contacts entry appears in the Admin Next sidebar.
Important
The Contacts blueprint declares both an admin.contacts and an api.contacts permissions block, so Admin Next and the REST API both authorize it out of the box. This matters: since flex-objects 1.4.3, a directory that declares no permissions block is denied to every non-super-admin over the API. Keep this in mind when you build your own type (see Permissions).
Step 3: Load the sample data
The plugin includes a ready-made contacts data set. Copy it into your user data so the directory has something to show:
$ cp user/plugins/flex-objects/data/flex-objects/contacts.json user/data/flex-objects/contacts.json
The Contacts directory uses SimpleStorage, which keeps every object in a single JSON file. That file lives at user-data://flex-objects/contacts.json (the user/data/flex-objects/ folder on disk), which is exactly where the sample file lands.
Clear the cache so Grav picks up the new data:
$ bin/grav clear
Warning
Always use bin/grav clear to clear the cache. Do not delete cache folders by hand.
Step 4: Browse Contacts in Admin Next
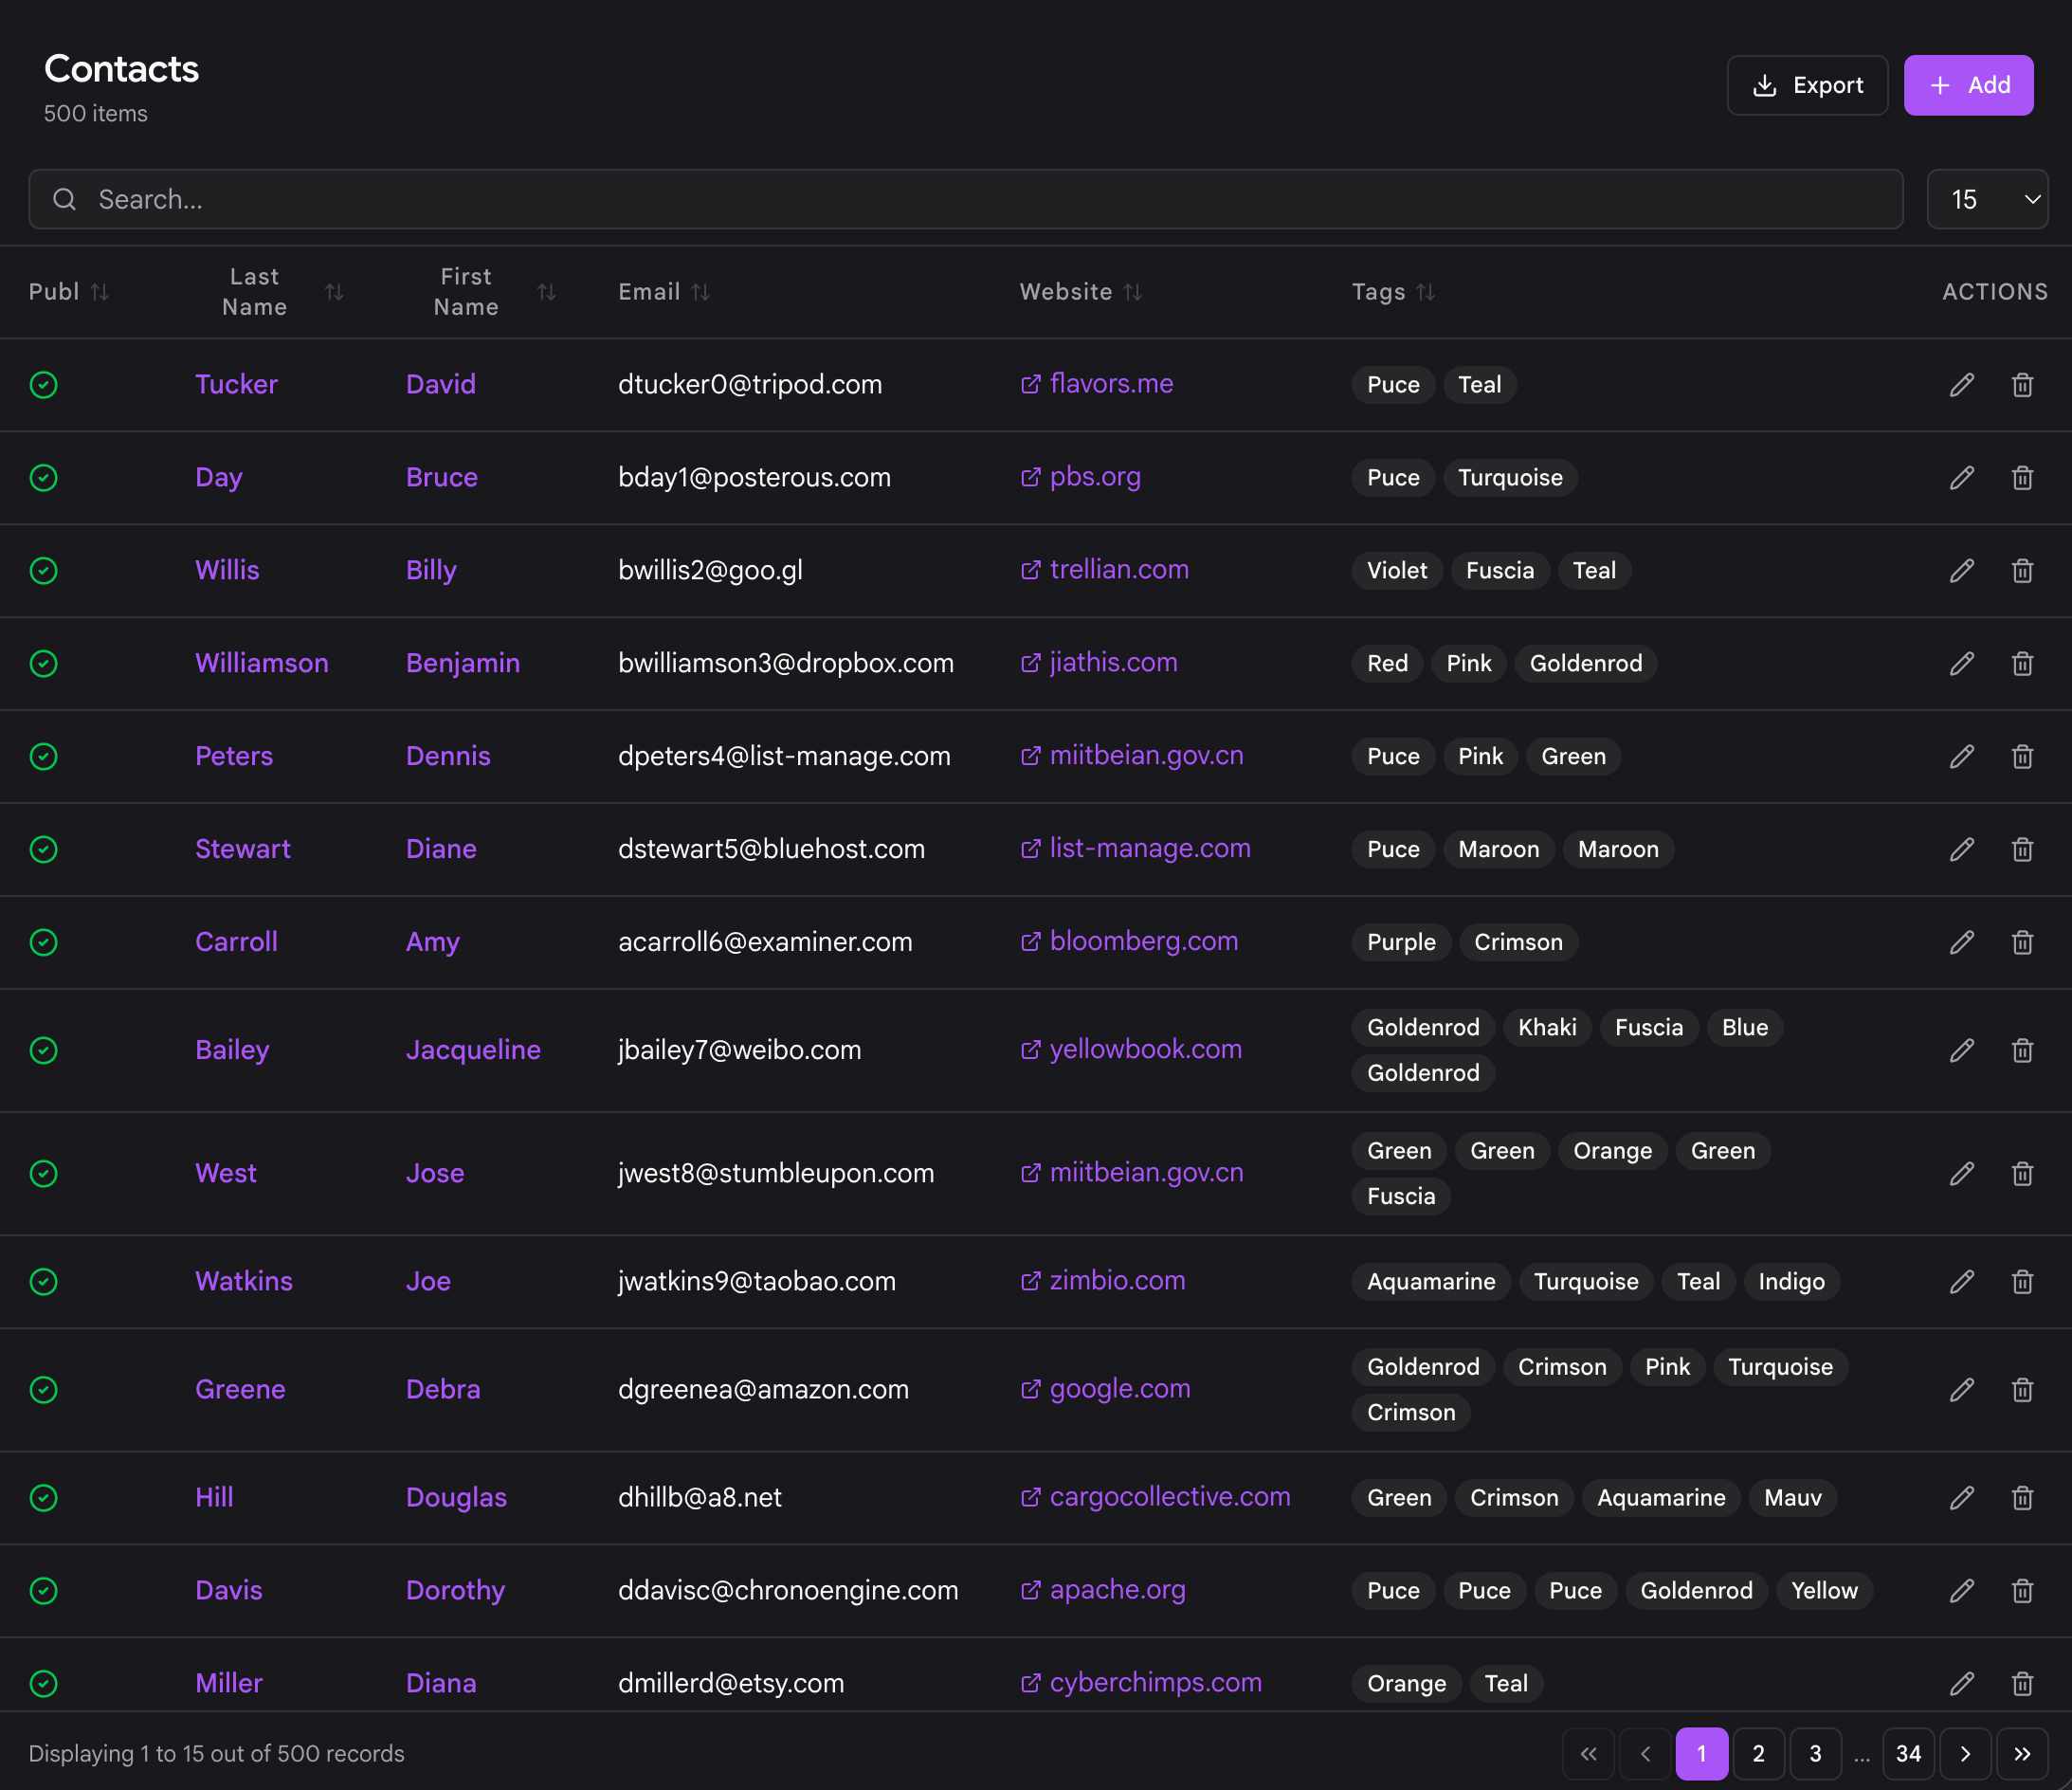
Back in Admin Next, click the Contacts entry in the sidebar. It now carries a small count badge telling you how many objects the directory holds, and clicking it opens the list view.
The columns you see (published toggle, last name, first name, email, website, tags) come straight from the blueprint's config.admin.list.fields. This is your working table: sortable, searchable, and paginated.
Step 5: Create and edit an object
From the list view:
- To edit, click any contact's name. The edit form is generated from the blueprint's
form.fieldsblock, so you get proper field types (email, url, a selectize tag field) with validation. - To create, use the Add button, fill in the required fields (last name, first name, email), and save. Your new contact is written straight into
contacts.jsonalongside the sample records.
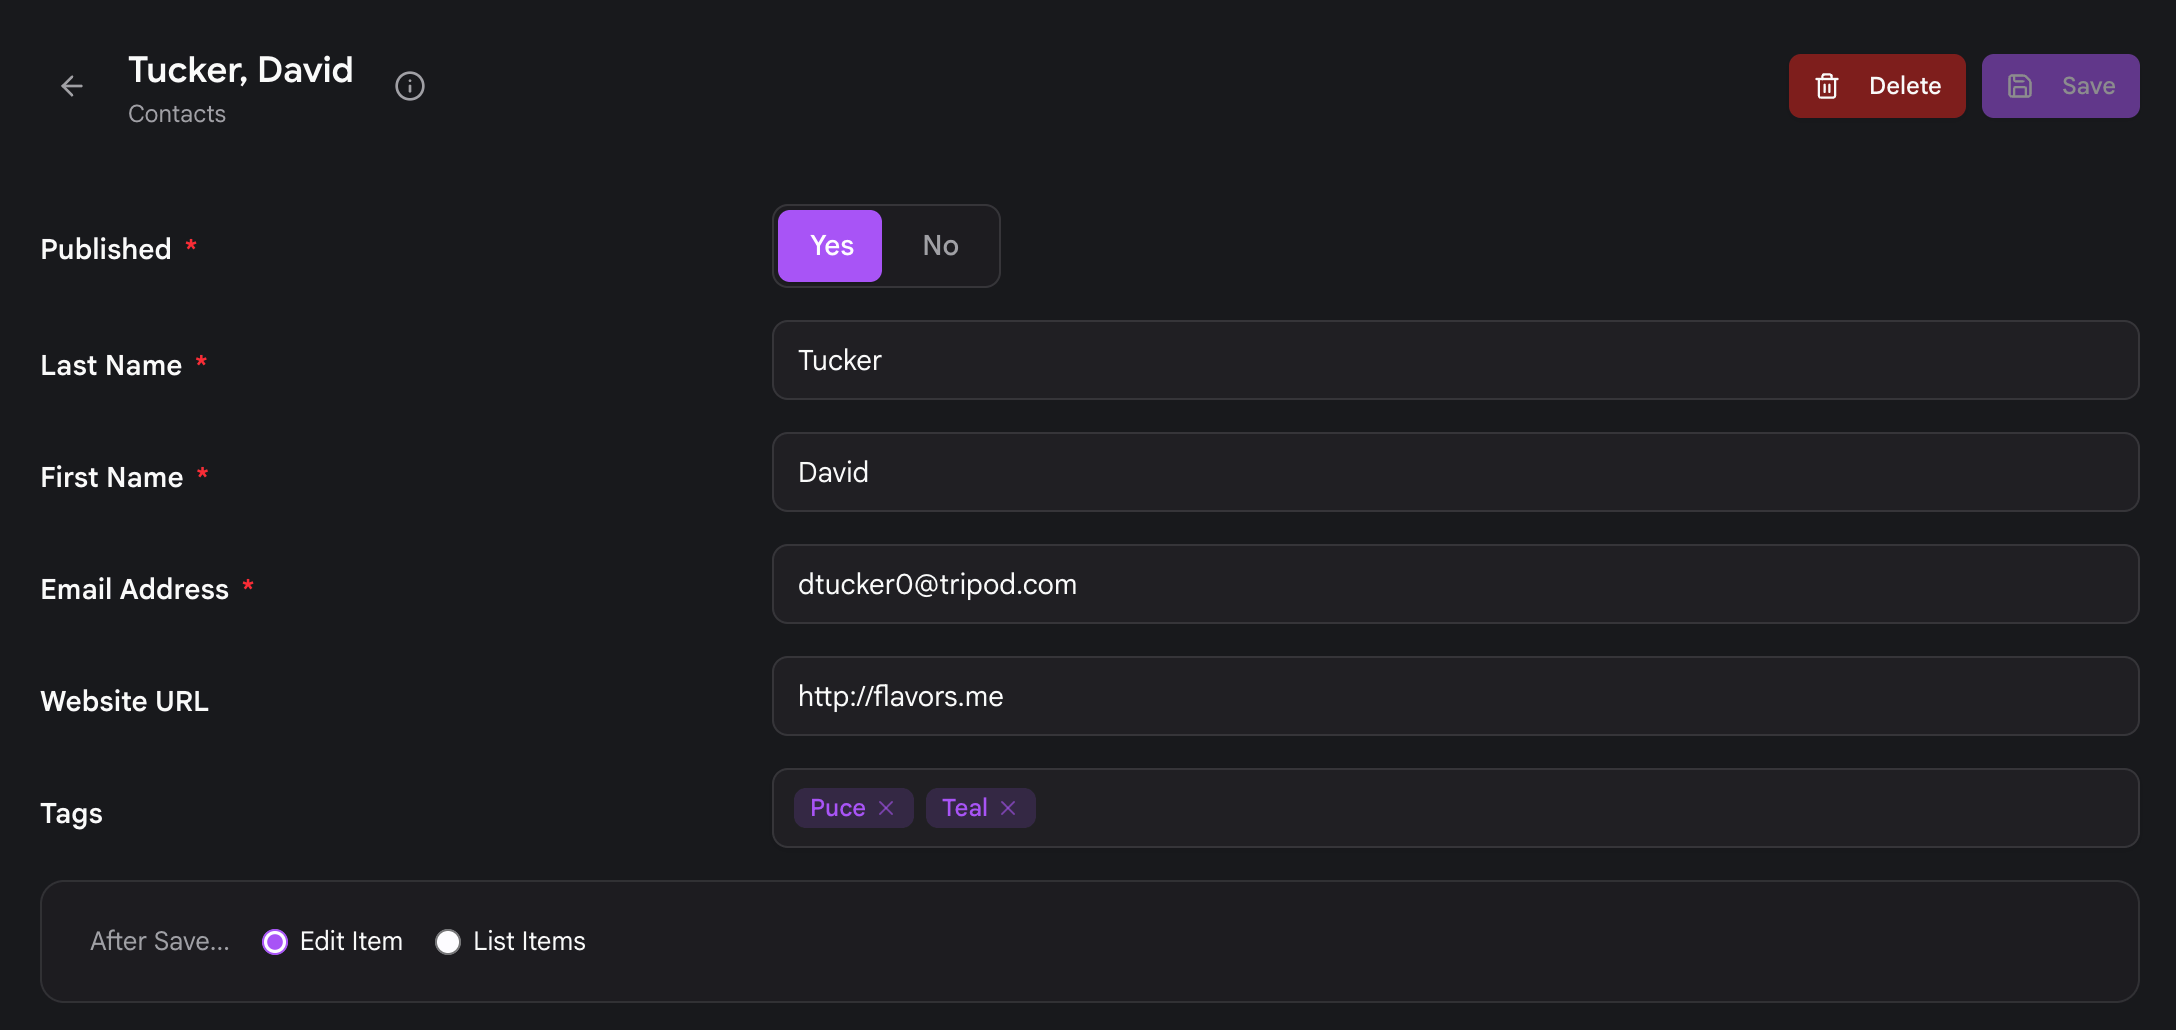
That is the entire admin loop: the blueprint defines the fields once, and Admin Next builds the list and edit views from it.
Step 6: Render Contacts on the frontend
Data in the admin is only half the story. Here are two ways to show your Contacts on the public site.
Option A: The [flex-objects] shortcode
The quickest option is the [flex-objects] shortcode. Drop it into any page's content and it renders the collection inline. This is the sandbox-safe alternative to writing raw Twig in content (the Grav 2.0 Twig sandbox blocks the equivalent {% render %} call by default).
[flex-objects collection="contacts" /]
You can narrow and style the output with a few optional parameters:
[flex-objects collection="contacts" layout="cards" limit="10" sort="last_name|asc" /]
| Parameter | Description |
|---|---|
collection |
The directory to render (required). type= is accepted as an alias. |
layout |
The collection layout to use. Defaults to default. |
limit |
Maximum number of objects to render. |
sort |
A field\|dir pair, for example last_name\|asc. |
select |
A comma-separated list of object keys, to render only those objects. |
The collection renders through its Flex template at flex/contacts/collection/{layout}.html.twig in your theme, so any collection layout you already have keeps working.
Option B: A flex-objects page
For a dedicated listing page (its own route, its own template), use the flex-objects page type. Create a page and set its header to point at the directory:
---
title: Our Contacts
flex:
  directory: contacts
---

# Our Contacts
Alternatively, set the page template to flex-objects directly. Either way, the page renders the collection using the Flex templates resolved from flex/{TYPE}/collection/{LAYOUT} and flex/{TYPE}/object/{LAYOUT}.
The page type also understands directory and id URL parameters, so a single flex-objects page can list a collection and drill into individual objects.
Note
If you leave flex.directory off entirely, the page lists all enabled directories instead of the entries from one. Set directory: contacts to show just the Contacts collection.
Next steps
You now have a working directory end to end: enabled, populated, editable in Admin Next, and rendered on the frontend. From here:
- Concepts explains the Flex model (framework versus plugin, directories, objects, collections, storage, and indexes) so the pieces you just used make sense.
- Creating a Custom Type walks you through writing your own blueprint from scratch, including the storage and permissions choices you will need to make.